Leaking mixer taps are more than just a nuisance; they’re silent contributors to water wastage and high utility bills. Unlike standard pillar taps, mixer taps combine hot and cold water streams, presenting unique repair challenges. Equipped with the right tools and our helpful instructions, you should be able to quickly fix this issue! Keep reading to learn everything you need to know about how to fix a leaking mixer tap.
What Is a Mixer Tap?
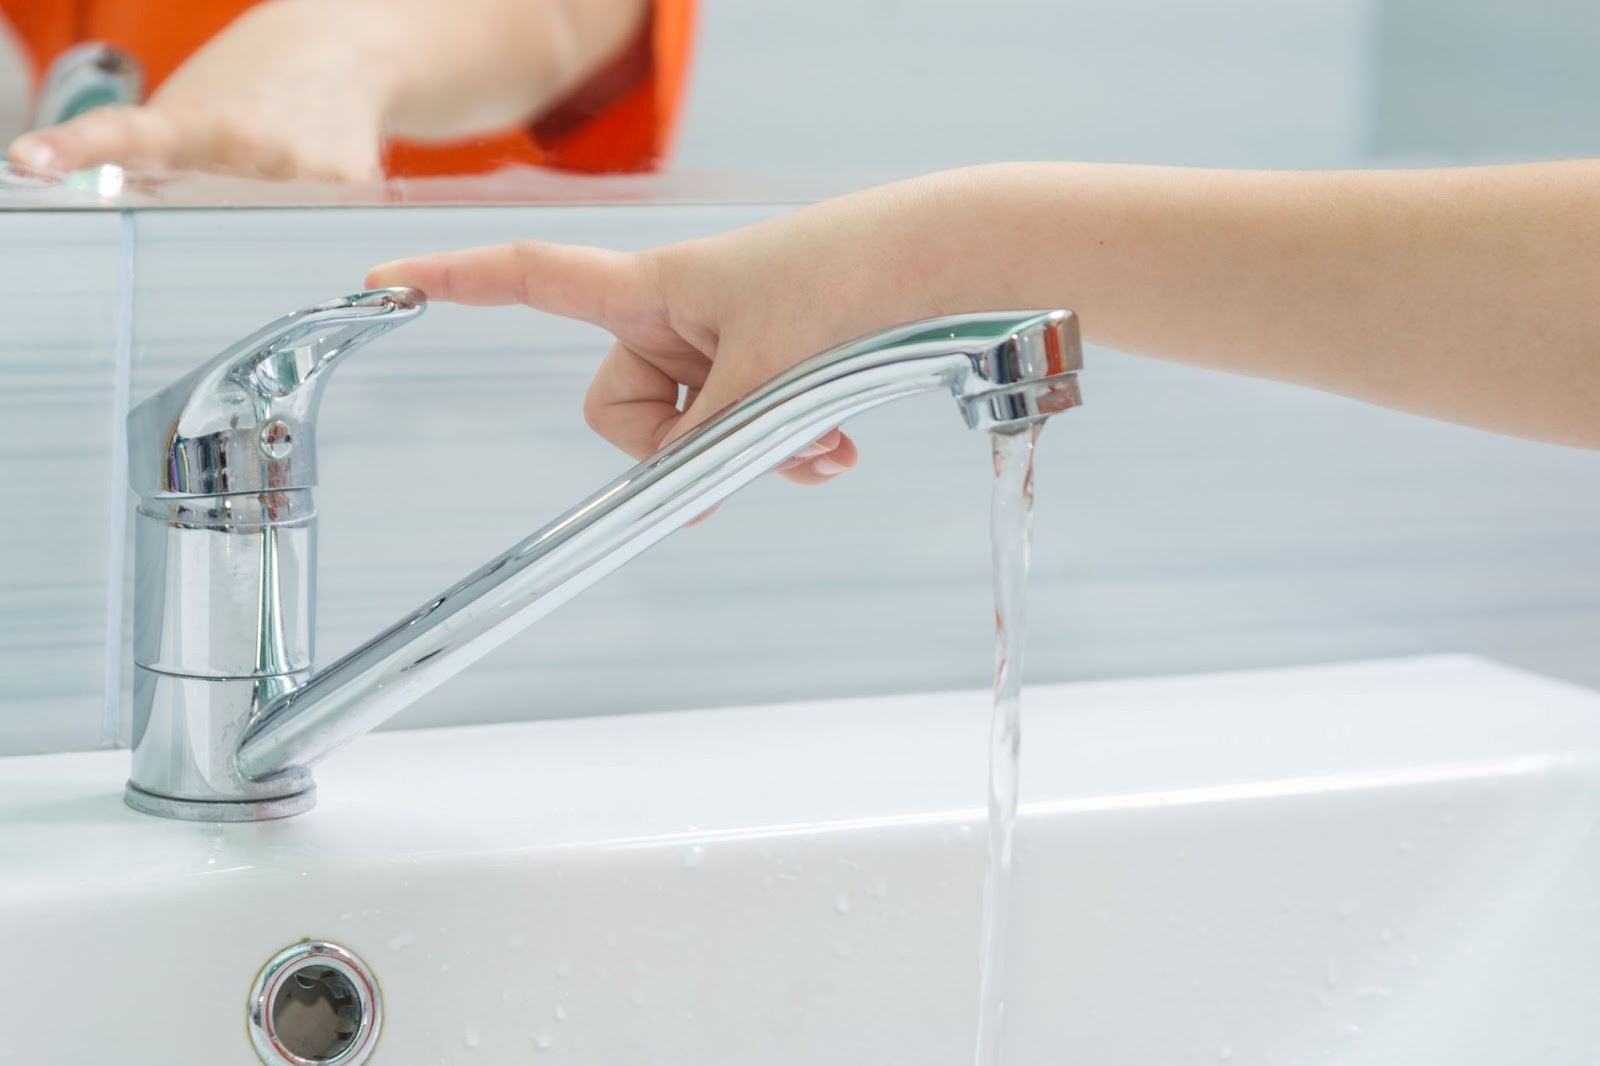
Mixer taps are some of the most common tap types in the modern home. Instead of two separate taps providing hot and cold water individually, mixer taps blend cold and hot water, providing water at just the right temperature. Often, there is one hot and one cold handle which you turn individually to reach your desired temperature. We will refer to these as dual-handle taps. There are also taps with a single handle that provides a smooth gradient for choosing the temperature you want. We will refer to these as single-handle taps. Mixer taps are commonly found in both kitchens and bathrooms. Find out more about the different types of taps.
Identifying the Problem
In order to fix your mixer tap, you first need to diagnose the problem, as this affects the parts that need to be fixed. The two primary culprits of leaking mixer taps are faulty washers/O-rings or faulty cartridges, and these vary by tap. Here’s how to diagnose the issue for yourself:
Diagnosing a Faulty Washer or O-ring
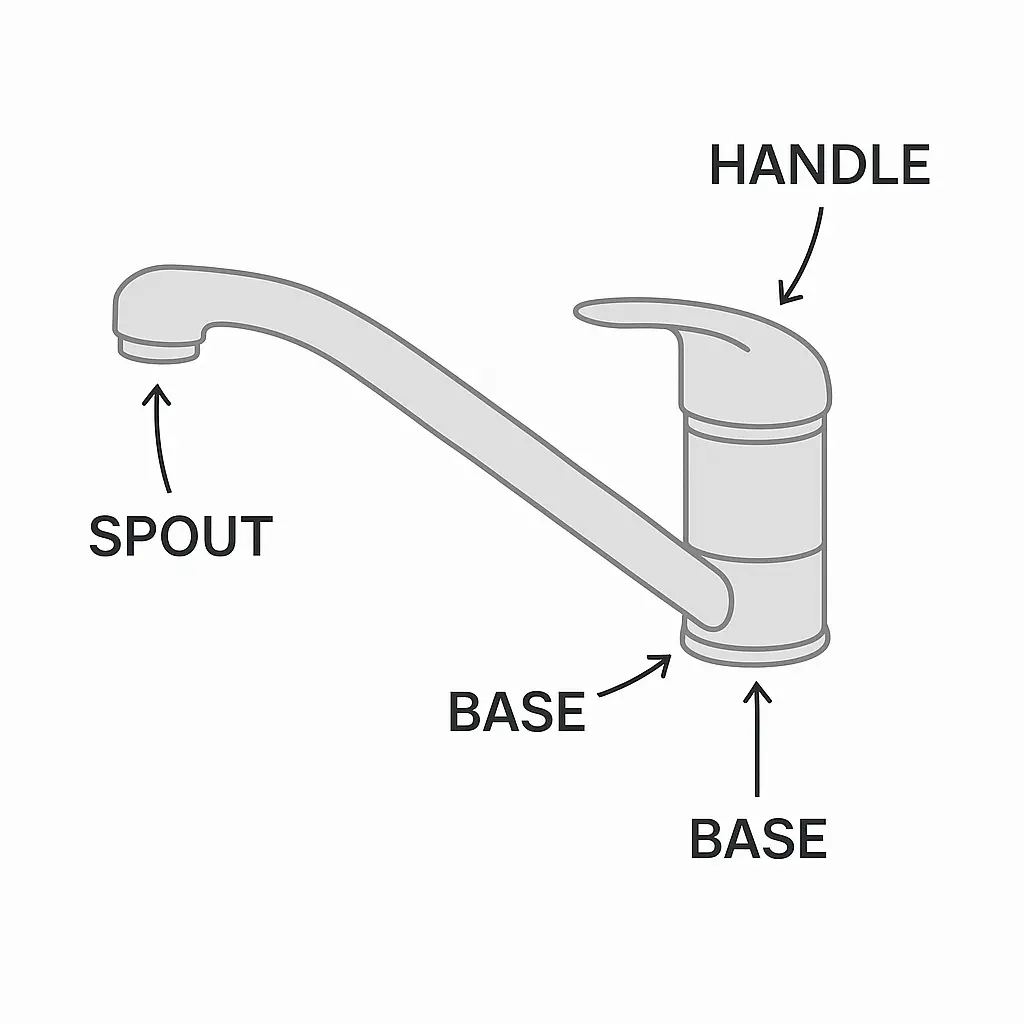
Generally speaking, if your tap is leaking from the base of the handle, then a faulty washer or O-ring is the likely culprit. Make sure you purchase a correctly sized O-ring or washer for your tap – they come in different sizes!
Diagnosing a Faulty Cartridge
If your tap is leaking from the opening, then a faulty cartridge is the likely culprit. Make sure you purchase the correct cartridge type for your tap before beginning repairs.
Tip: take a photo of your tap to show the staff at your local Bunnings, Reece or plumbing supply store for specific advice – this will save you having to go twice!
Tools and Supplies Needed
Here’s what you’ll need:
- Shifter spanner (adjustable wrench)
- Flat-head screwdriver
- 2mm to 2.5 mm Allen key (hex wrench), depending on your tap model
- Replacement parts (cartridge or washer/O-rings depending on your tap)
- Inox or WD-40
- Thread seal tape (plumber’s tape)
- Rag and bucket
Knowing the exact make and model of your mixer tap is vital to find the right replacement parts.
Step-by-step guide: How to fix a mixer tap leak
Fixing a leaking mixer tap can be a straightforward DIY task, however, you might face some complications along the way. If you’re struggling to fix the leak, take a look at the common challenges section at the end of this blog.
Step 1: Turn Off the Water Supply
Luckily when just fixing a tap, you usually don’t need to turn off the water supply to your home.
First, look under the sink to find the isolation valves. These are usually small, round or lever-type valves attached to the flexi hoses that supply water to your tap.
To shut off the water, turn these valves until they’re tightly closed. You’ll often need a flathead screwdriver for this. If they’re lever-type valves, turn the lever so it’s perpendicular to the pipe.
After turning off the valves, turn on the tap to ensure there is no water flow. This confirms that the water supply has been successfully cut off. Initially, when you turn off the water supply and start dismantling the tap, there might be residual water in the pipes or the tap itself. Have a bucket and rag ready to catch this water in case this occurs.
Step 2: Remove the Tap Handle/s
The way to remove a tap handle or handles varies from tap to tap, but the main goal for every tap is the same: find and remove the grub screw.
For many single-handle mixer taps, the grub screw is located beneath a cap/plastic covering on the handle itself. Use a flat-head screwdriver to gently pry this cover off. This is most often the hot/cold indicator on the tap.
If your single handle tap doesn’t have a hot/cold indicator button, the grub screw might be hidden on the outside of the handle body, usually directly opposite the finger of the handle.
If you have a dual-handle mixer tap, then the screws might be under the plastic hot/cold caps on either handle, or located somewhere else on the body of the handles.
Once you’ve found the screw that keeps the handle in place, unscrew it using your Allen key and your tap handle should come straight off. Tip: make sure to plug the sink before taking out the screw so you don’t lose it down the drain! Trust us, we’ve done this before…
Some models may have a different mechanism for handle removal. If this is the case, find the manufacturer’s guide for further instructions.
Step 3: Dismantle the Tap
With the shifter spanner (adjustable wrench), loosen and remove the tap cover, if necessary. This can be done by hand if the cover is not screwed on too tight. The cover is the domed ring usually located directly beneath the handle of a single-handle mixer tap. Be careful not to damage the surface. This step is not necessary in dual-handle mixer taps.
Once this is done, you can unscrew the cartridge valve and proceed to the next step.
If you have a dual-handle mixer tap, you can simply unscrew the spindle or cartridge valve with your shifter once the handles have been removed.
Step 4: Replace or Clean the O-ring/Washer or Cartridge Valve
Once you’ve removed the cartridge valve or spindles, we recommend examining the parts and replacing any that might be faulty, including the washer, any O-rings, and/or the cartridge valve itself. This ensures you fix the problem and won’t need to do it again for a long while! Make sure to take stock of the parts you’ve removed from your tap and that you have the right replacement for each.
Step 5: Reassemble the Tap
After replacing all necessary parts, reassemble the tap in reverse order. Ensure everything is tight, but don’t over-tighten as this can cause damage and lead to more leaks further down the track. Hand-tight is usually more than sufficient.
As you reconnect each component, apply thread seal tape to the threaded connections for a secure, leak-free seal.
Step 6: Test Your Work
Turn the water supply back on and test your tap. Check for smooth operation.
If at any point you feel unsure, remember that DCM Plumbing is here to help. With just a call, our expert team can take over and ensure your mixer tap is fixed with professional care.
Common Challenges and How to Overcome Them
Even with the best preparation, you might encounter some common issues when fixing a leaking mixer tap. Here’s how to handle them:
Stuck Components
Over time, parts of the tap can become stuck to move due to mineral deposits or corrosion. Apply a bit of Inox or WD-40 and wait a few minutes. This should help loosen the parts.
Choosing the Right Replacement Parts
Identifying the right cartridge, O-rings or washer for your tap can be tricky. If you have the time, dismantle the tap first and bring all the parts with you to Bunnings, Reece, or another plumbing supply store. This way you’ll know you’re getting the right parts!
Avoiding damage to the tap’s finish
Use a rag or cloth when using the shifter spanner to protect the tap’s surface from scratches.
Dealing with persistent drips after repair
If the tap continues to drip after you’ve replaced the parts, this could mean the seating (part of the tap body where the washer or cartridge sits) is damaged. In this case, it might be best to consult a professional plumber.
Ensuring a tight seal
After reassembling the tap, make sure all connections are secure to prevent future leaks. However, be cautious not to over-tighten, as this can damage the parts.
When to Call a Professional
DIY plumbing can be rewarding, but there are times when calling in a professional is the safest and most efficient option. Here’s when you should consider getting in touch with a plumber who has expertise in fixing leaking taps:
Complex Tap Mechanisms
If your mixer tap has a particularly intricate design or you’re unable to identify the issue, professional expertise will save time and prevent potential mishaps.
Persistent Leaking
Should the leak continue despite your best efforts, it could indicate a deeper issue within the plumbing system that requires specialist tools and knowledge.
Damaged Tap Seat
If you discover that the tap seat (the area where the washer or cartridge sits) is damaged or worn out, this often requires reseating or replacement by a skilled plumber.
Lack of Proper Tools
Certain repairs may need specialised tools that are not commonly found in a standard toolbox. In such cases, a plumber’s toolbox can make the job quicker and more effective.
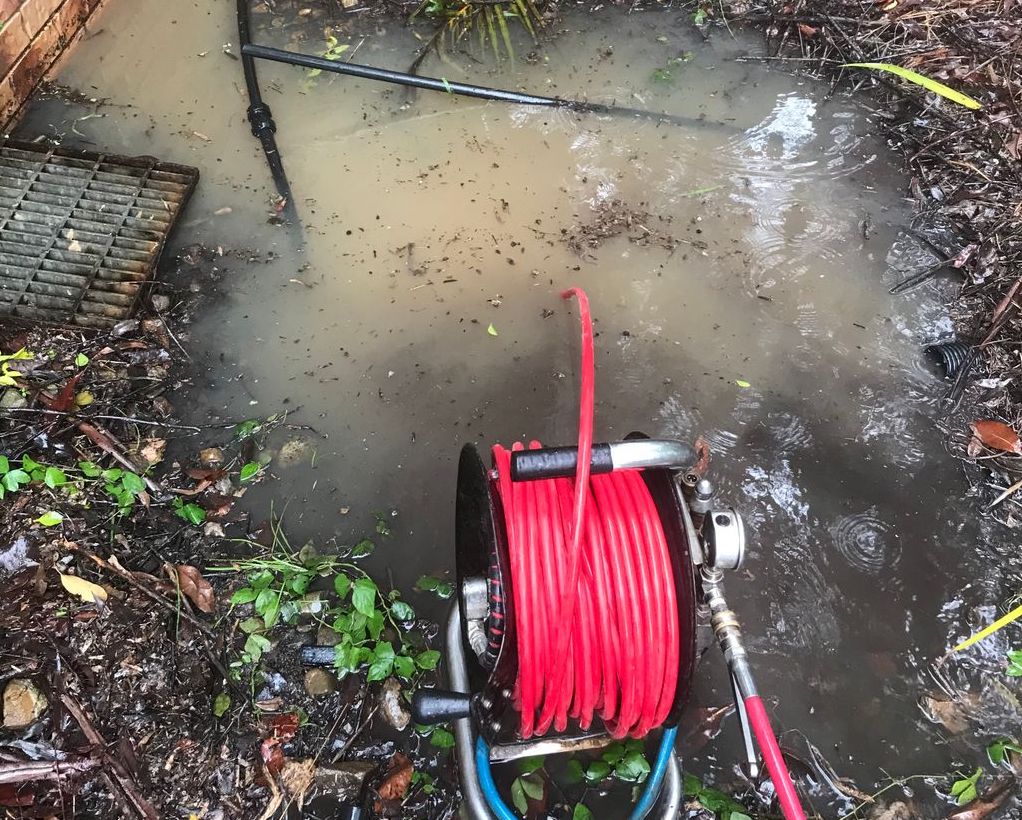
Emergency Situations
If the leak has led to flooding or significant water damage, it’s crucial to call an emergency plumber immediately to prevent further damage to your property.
Tap Still Leaking?
Experiencing a leak despite following our steps? That could point to deeper issues like a worn seat or internal damage. Don’t let a simple repair turn into a messy problem. If uncertainty or stubborn drips persist, trust DCM Plumbing to step in. Our team at DCM Plumbing has over 15 years of experience. Contact us today to speak with a member of our friendly team!
Frequently Asked Questions
A leaking mixer tap is usually caused by worn-out cartridges, washers, or O-rings. Over time, these parts degrade with regular use, leading to drips or water pooling around the base.
Yes, many leaks can be repaired at home by replacing the cartridge or seals with basic tools. If you’re confident using a wrench and following step-by-step instructions, DIY repairs are often possible.
Common tools include an adjustable spanner, screwdriver, allen key, and replacement cartridge or washers. Having plumber’s tape on hand can also help ensure a tight seal.
If you’ve replaced the cartridge or washers and the tap still leaks, or if the leak is coming from the base or pipes below, it’s best to call a licensed plumber to avoid water damage.
Leaks at the base often mean the O-ring or cartridge needs replacing. If new parts don’t solve the issue, there may be a problem with the tap body or connections, which requires professional repair.
Yes. Even small, slow drips can waste hundreds of litres of water over time, leading to higher water bills and unnecessary waste. Fixing the leak promptly is the best way to save money and water.