As a homeowner, one of the things you should know is how to fix a leaking tap. Why is this important?
Forget the endless and irritating drip-drip-drip sound that comes with having a leaking tap, another problem is that it will cost you in wasted water if you don’t stop that tap from leaking.
Let’s find out how you can go about fixing leaky taps! But first, why did your tap begin leaking and what tools will you need if you’re going to stop your tap from leaking?
What to Know Before You Attempt Fixing Leaky Taps
The first thing to know before you fix a leaking tap is the reason for the dripping. It could be due to any of the following:
- The major culprits are usually deteriorating or broken washers
- A breach, crack or gouge in the tap seatings.
- The tap’s washer has become too hard to close fully, and this is what causes the dripping; because the tap is unclosed
- The tap washer is the wrong size or was installed incorrectly
- The jumper valve or valve seating is worn out
- The tap’s O-ring is loose or corroded
What Do You Need to Fix a Leaking Tap?
Now that you know what could cause your tap to leak, the next question would be how to fix the leaking tap.
Before we discuss the steps to stop a tap from leaking, you will need to have your basic tap fixing tools ready.
The best tool you can get is a tap fixing kit containing all the equipment you would need to fix your tap. You can get this from a plumbing store near you. However, if you cannot get hold of the tap fixing kit, don’t worry. Get each of these tools instead, and they will help you get the job done:
- A set of spanners or shifting wrenches (shifters). You may need different sizes of spanners in case the nuts on your taps are not the same size, or just an adjustable spanner.
- A set of pliers
- A washer and O-rings or tap cartridge to replace your damaged one. Ensure that you get the correct size that matches the damaged washer.
You need to know the type of tap that you have. This will determine if you need to replace a damaged washer or a damaged cartridge.
If what you have installed is a traditional tap, then you need a washer. Traditional taps have washers and O-ring seals, and the dripping may be as a result of damage to either or both.
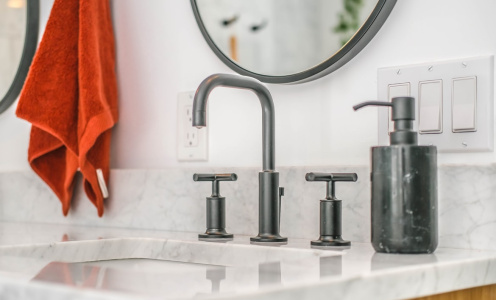
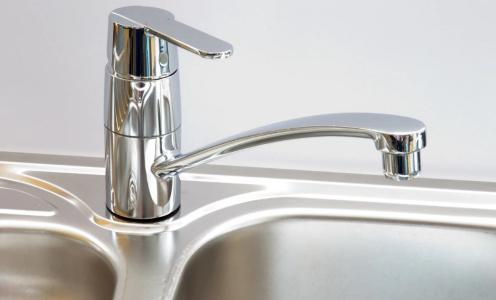
But if what you have is a flick mixer tap, then what you need is a new cartridge. Flick mixer taps have cartridges instead of washers.
Steps to Take to Fix a Leaking Tap
Once you have the tools, fixing leaky taps is the next step. So, to stop the tap from leaking, take the following steps:
1. Turn off the water supply system:
The first thing to do is to turn off the system that is responsible for the flow of water to the tap. This will ensure that water does not keep running and cause a mess while you are carrying out the repairs. You can do this by turning off the tap at your water meter, or the isolation valve that controls the leaking tap.
Once done, then turn on the tap to remove any remaining water in the tap pipes.
2. Remove the tap handle and any other decorative parts of the tap:
Put these parts in a safe place, a ziplock bag, or some other isolated area or worktable. This is to ensure that no part is missing and you can assemble your tap properly once you are done fixing the leak.
You may need a screwdriver to do this, depending on the kind of tap you have. For some taps, all you need to do is to unscrew the button at the top of the tap, and the handle will come off. If the button proves difficult, you may need to lubricate it.
As you remove any part of your tap, ensure that you note the arrangement of the parts so that you do not have a difficult time when you have to put them back together again.
3. Remove the Skirt, Shroud, or Cover plate:
For some taps, this part will come off by itself once you remove the handle. For others, you will need to unscrew it with a spanner. If it is held in place by adhesives, you may need a set of pliers to pry it off.
You may also need to remove the tap bonnet with a spanner or shifting wrench.
Whatever you disassemble, make sure that you note how it was placed before removing it. This will help you when you have to put the tap together again.
4. Replace the damaged washer, cartridge or O-ring:
After removing the skirt, tap bonnet or shroud, you will see the damaged washer, cartridge or O-ring. Remove this carefully, and replace it with the new one you purchased. Clean up any debris you find in this area. Accumulated debris can cause damage to your tap washer, cartridge or O-ring.
5. Reassemble your tap:
Once you have replaced the damaged part of your tap, you have to put the tap back together as you removed them.
Having replaced the jumper valve and its washer, screw the stem back into the base on top of them. Put together the other parts with the same method. Try turning the tap on to make sure it’s all working properly.
Get Quality Plumbing Services to Fix Your Leaking Tap on the Gold Coast
If you’ve taken all the steps given above and your tap keeps leaking, or this whole process completely overwhelms you, then it’s time to call the experts. Your continuous attempts to fix it could worsen the damage, which could incur additional costs.
Thankfully, if you’re on the Gold Coast, you don’t have to keep searching for expert plumbers for leaky taps. At DCM Plumbing and Drainage, we’ve been providing customer friendly plumbing services for 20 years.
We will discover the cause of the leak in your tap, and in no time, ensure that the tap is fixed. Our plumbers work swiftly and efficiently with the required expertise and skill. You can be sure that your plumbing system is in the best hands.
Need quality plumbing services on the Gold Coast? Don’t hesitate. Call us on (07) 5576 5305, or contact us today!

