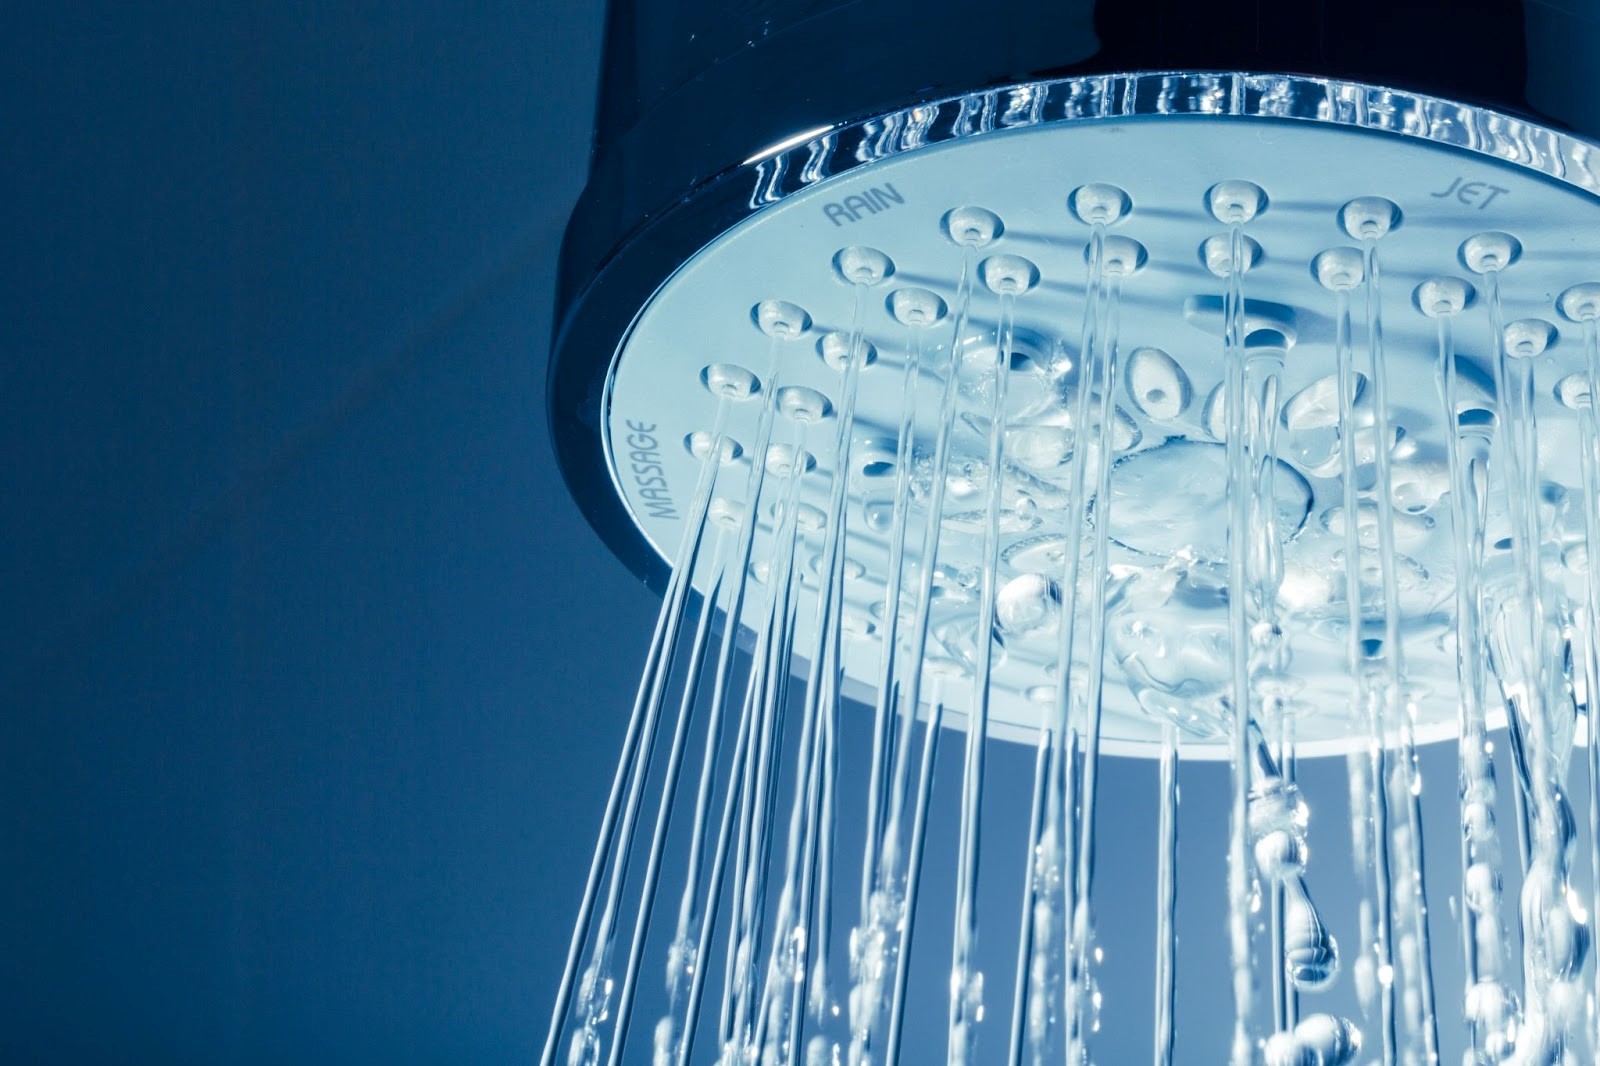
Maintaining a clean shower head not only ensures a strong, steady water flow but safeguards your health. Over time, shower heads can accumulate mineral deposits, limescale, and even bacteria, which can significantly affect their functionality and potentially harm your well-being. Regular cleaning enhances the performance of your shower head and extends its lifespan.
Recognising Signs of a Clogged Shower Head
Reduced Water Pressure
If you notice that the water stream is weaker than usual, it could be due to mineral deposits narrowing the passages inside the shower head.
Uneven Spraying
Water should flow evenly from all nozzles. If some areas spray water erratically or not at all, it’s likely they are blocked.
Water Spraying in Odd Directions
When nozzles are clogged, water may be forced out in directions it’s not meant to go.
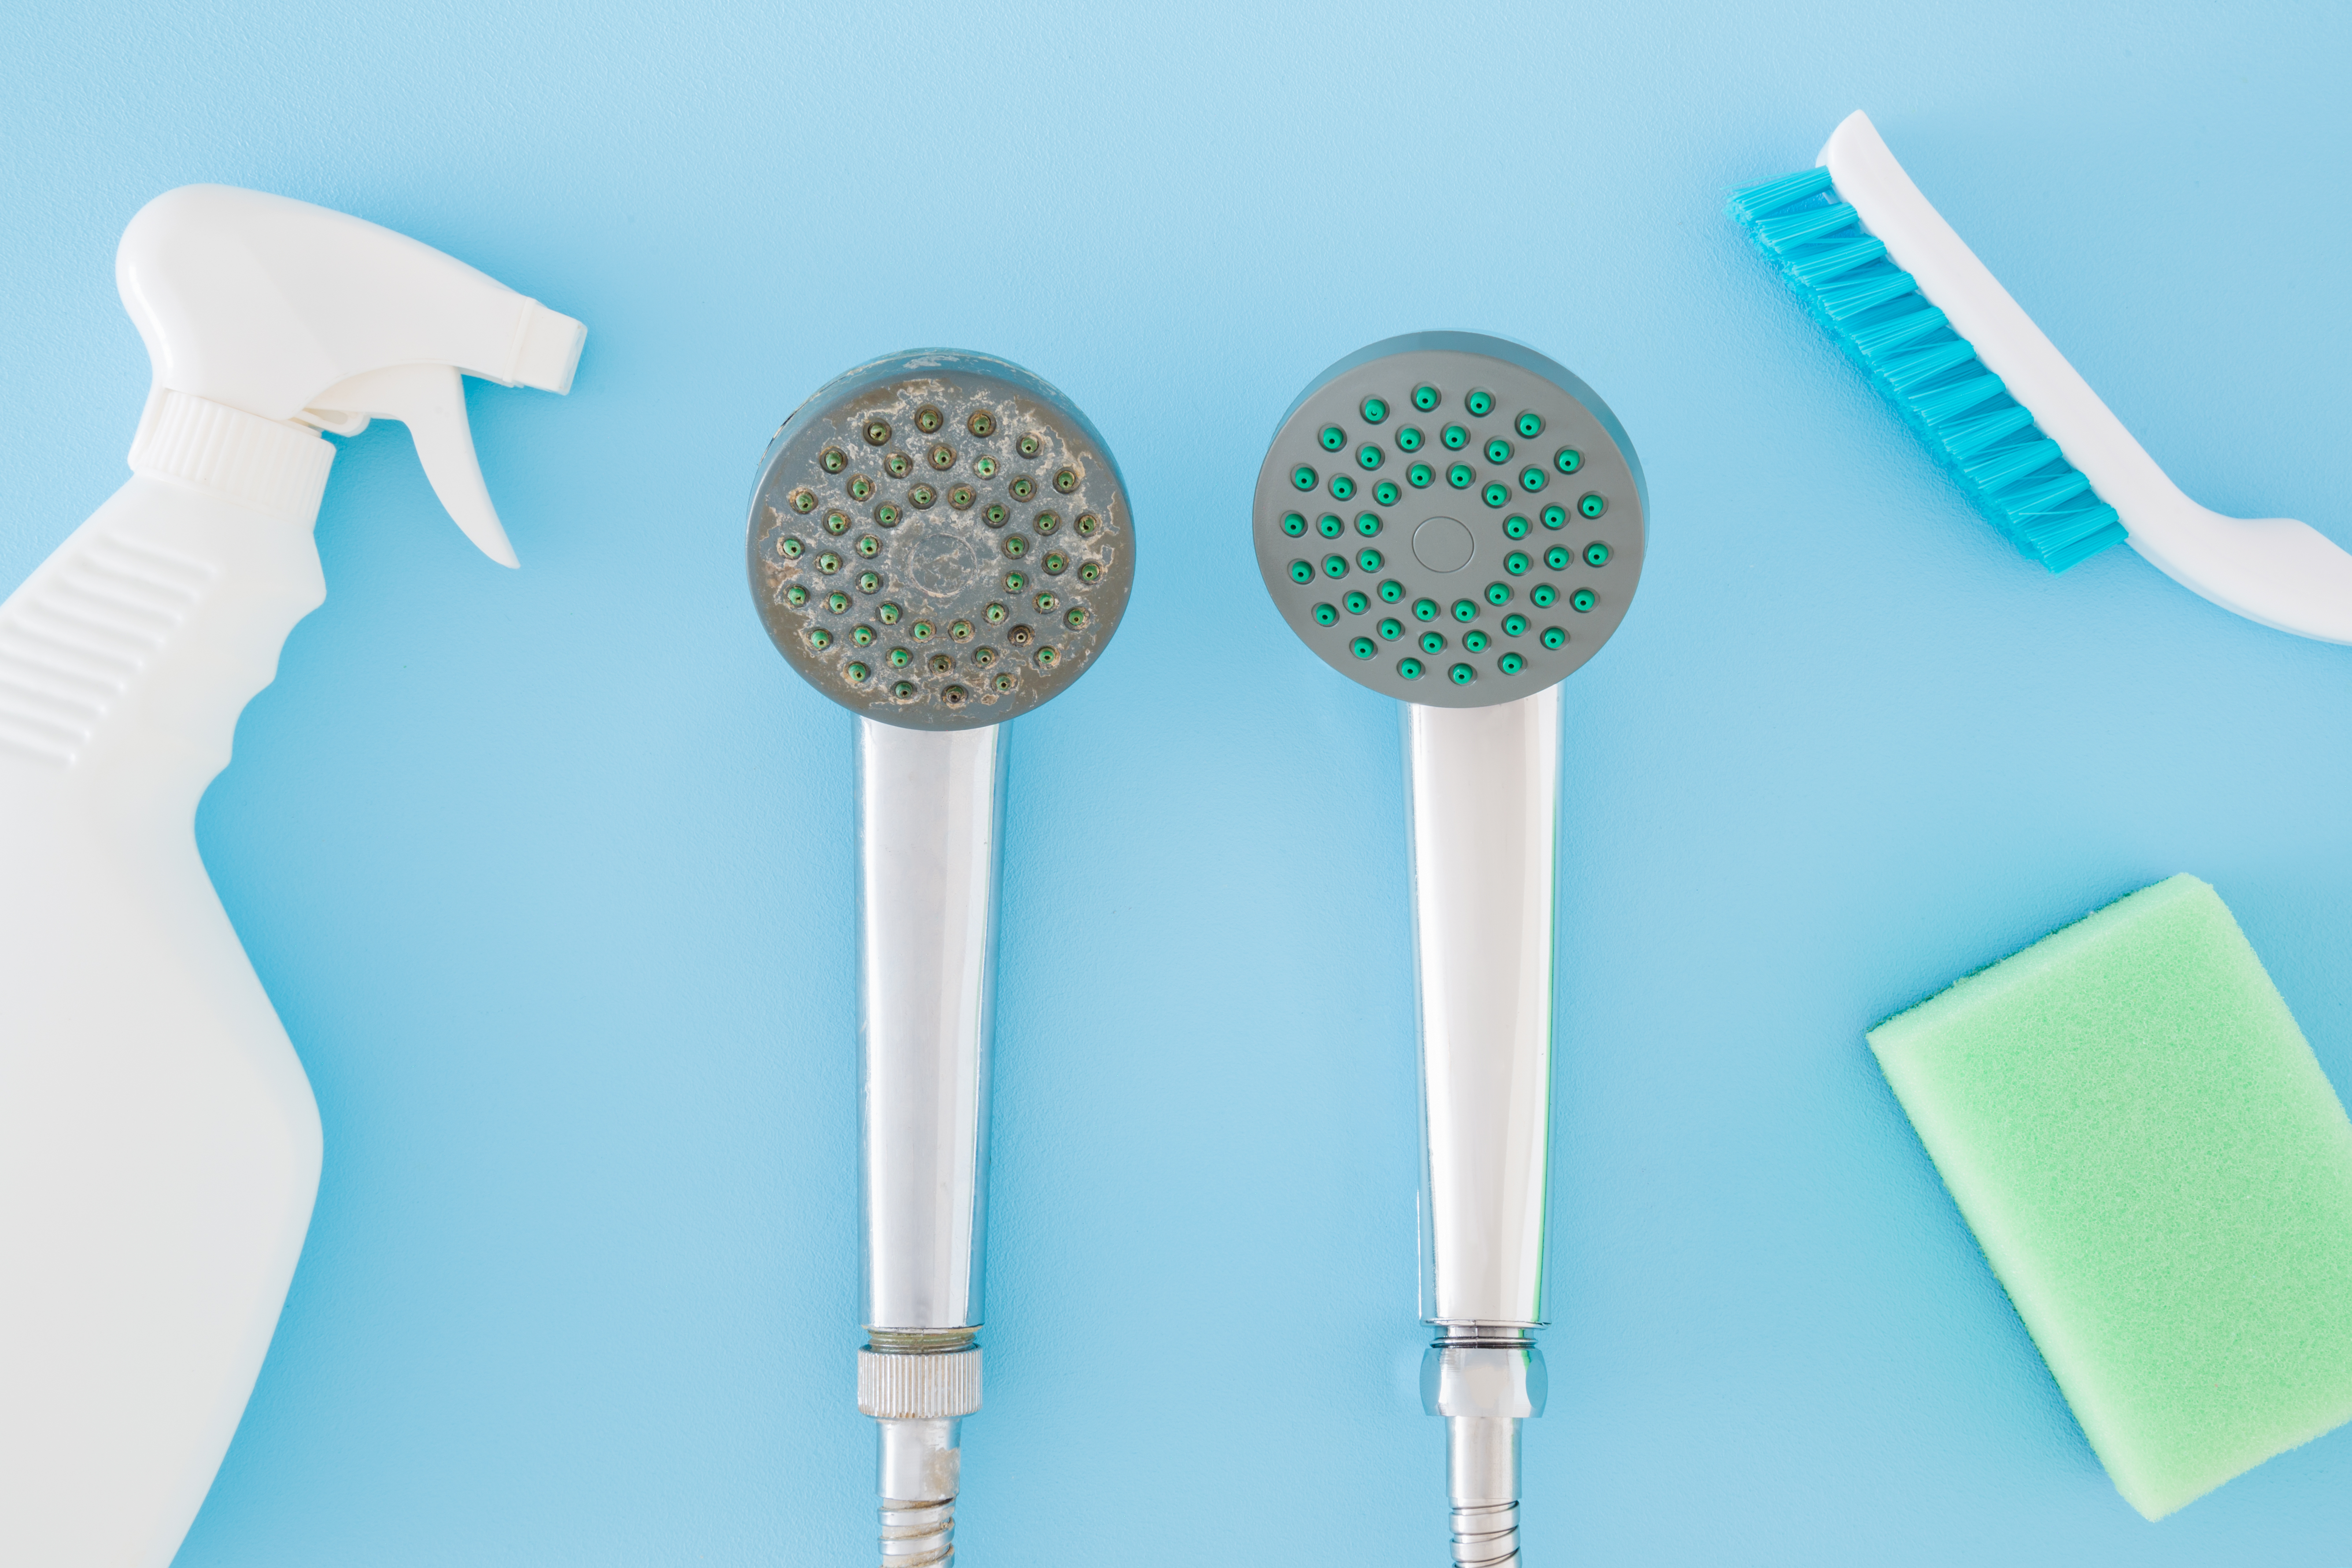
Visible Mineral Deposits
Look for white, green, or brown buildup around the nozzles. This is a clear sign of mineral deposits from hard water.
At Home Shower Head Cleaning Solutions
Supplies
- White vinegar
- Baking soda (optional for tougher grime)
- A plastic bag large enough to cover the shower head (with no holes!)
- A rubber band or a twist tie
- An old toothbrush or a small brush
- A soft cloth
Prep
- Run hot water through the shower head for a minute to flush out any loose sediment.
- Ensure the shower is off. It’s advisable to also turn off the water supply if you plan to remove the shower head for a deep clean.
- If accessible, unscrew the shower head from the hose or pipe. This step is optional but recommended for a more comprehensive clean.
- Check the shower head for any signs of wear or damage.
Vinegar Soak Method
- Remove the Shower Head (optional):
- If possible, remove the shower head by unscrewing it from the hose or fixture. This step is optional but can make for a more thorough cleaning process.
- Vinegar Soak
- Fill the plastic bag with white vinegar.
- Submerge the shower head in the vinegar-filled bag. If you’ve removed the shower head, you can directly place it in a bowl filled with vinegar.
- Secure the bag around the fixture with a rubber band or twist tie.
- Let it soak for at least 30 minutes. For heavy build-up, a few hours or overnight might be necessary.
- Scrub the Nozzles
- After soaking, remove the shower head from the vinegar.
- Gently scrub the nozzles with a soft brush or toothbrush to dislodge any remaining deposits.
- Rinse and Reattach
- Rinse the shower head thoroughly under warm water.
- If you removed the shower head, reattach it to the hose or fixture.
- Run hot water through the shower head for a few minutes to flush out any loosened deposits.
- Dry and Polish
- Use a soft cloth to dry and polish the shower head, restoring its shine and helping prevent water spots.
Baking Soda Method (for more Stubborn Deposits)
- Mix a Cleaning Solution:
- Combine equal parts of baking soda and white vinegar to form a paste. The mixture will fizz initially, which is normal and part of the chemical reaction that helps lift stubborn deposits.
- Apply the Paste:
- Use a sponge or an old toothbrush to apply the paste directly onto the areas of the shower head with noticeable buildup. Make sure the nozzles are well coated to address any clogs inside them.
- Let It Sit:
- Allow the paste to sit on the shower head for about 10 to 15 minutes. This duration lets the baking soda and vinegar work together to break down the mineral deposits.
- Scrub:
- After the paste has set, scrub the shower head with a brush. Focus on areas with significant buildup and gently work the bristles into the nozzles to ensure they are clear.
- Rinse Thoroughly:
- Remove all residue by rinsing the shower head under warm, running water. Ensure that all traces of baking soda and vinegar are washed away.
- Reattach and Test:
- If you removed the shower head, screw it back onto the hose or fixture.
- Run the shower for a few minutes to ensure that the water flow is even and the nozzles are clear.
Advanced Tips for Tough Buildups
CLR Cleaner
CLR (Calcium, Lime, and Rust remover) is more potent than vinegar and can dissolve heavy buildups effectively. Apply it according to the manufacturer’s instructions, taking care not to damage your shower head’s finish.
Dental Picks
These tools are excellent for scraping off mineral deposits from tiny nozzles. They allow precision without scratching the surface.
Soak Longer
If deposits are thick, consider extending the vinegar or CLR soaking time. Overnight soaks can significantly enhance cleaning results.
Increase Water Pressure
Sometimes running water at the highest pressure for a few minutes can dislodge lingering debris post-cleaning.
Professional Cleaning Solutions
For extremely resistant buildup, commercial-grade cleaners designed for plumbing fixtures can offer a solution. Ensure they are safe for use on your specific shower head material to avoid damage.
Maintenance Tips to Prevent Future Buildup
- Regular Cleaning: Implement a monthly cleaning routine with vinegar to prevent mineral deposits from hardening.
- Install a Water Softener: If you live in a hard water area, consider installing a water softener to reduce limescale buildup in your plumbing fixtures.
- Wipe Down After Use: After each shower, take a moment to wipe down the shower head with a dry towel. This simple step can help prevent mineral deposits from forming.
- Use Filtered Water: Consider installing a filter on your shower system to reduce the minerals and impurities that cause buildup.
Plumbing Solutions with DCM
If you’re encountering stubborn build ups or need professional help with your plumbing, DCM Plumbing is here to assist. Our experienced team can help with all your plumbing needs on the Gold Coast, ensuring your showers are always in top condition. Don’t let a clogged shower head dampen your day—contact DCM Plumbing for expert assistance.