Want to learn how to change a shower head? We’re here to help!
Changing a shower head doesn’t require extensive tools or expertise, and it’s an easy bit of DIY you can do to save water by purchasing a more effective shower head, or to just upgrade to a shower head more in line with your preferences. Whether it’s your first time replacing a shower head or you’re simply seeking a quick refresher, our instructions are there to assist you every step of the way.
DCM Plumbing is a leading plumber on the Gold Coast and blocked drains expert. If you need plumbing services of any kind such as leak detection, burst pipe repairs, or renovations contact us today.
Different Types of Shower Heads
When changing your shower head, you first need to figure out what type of shower head you have. Here are some common types to help you along:
1. Fixed shower heads are common and provide a stable overhead water flow.
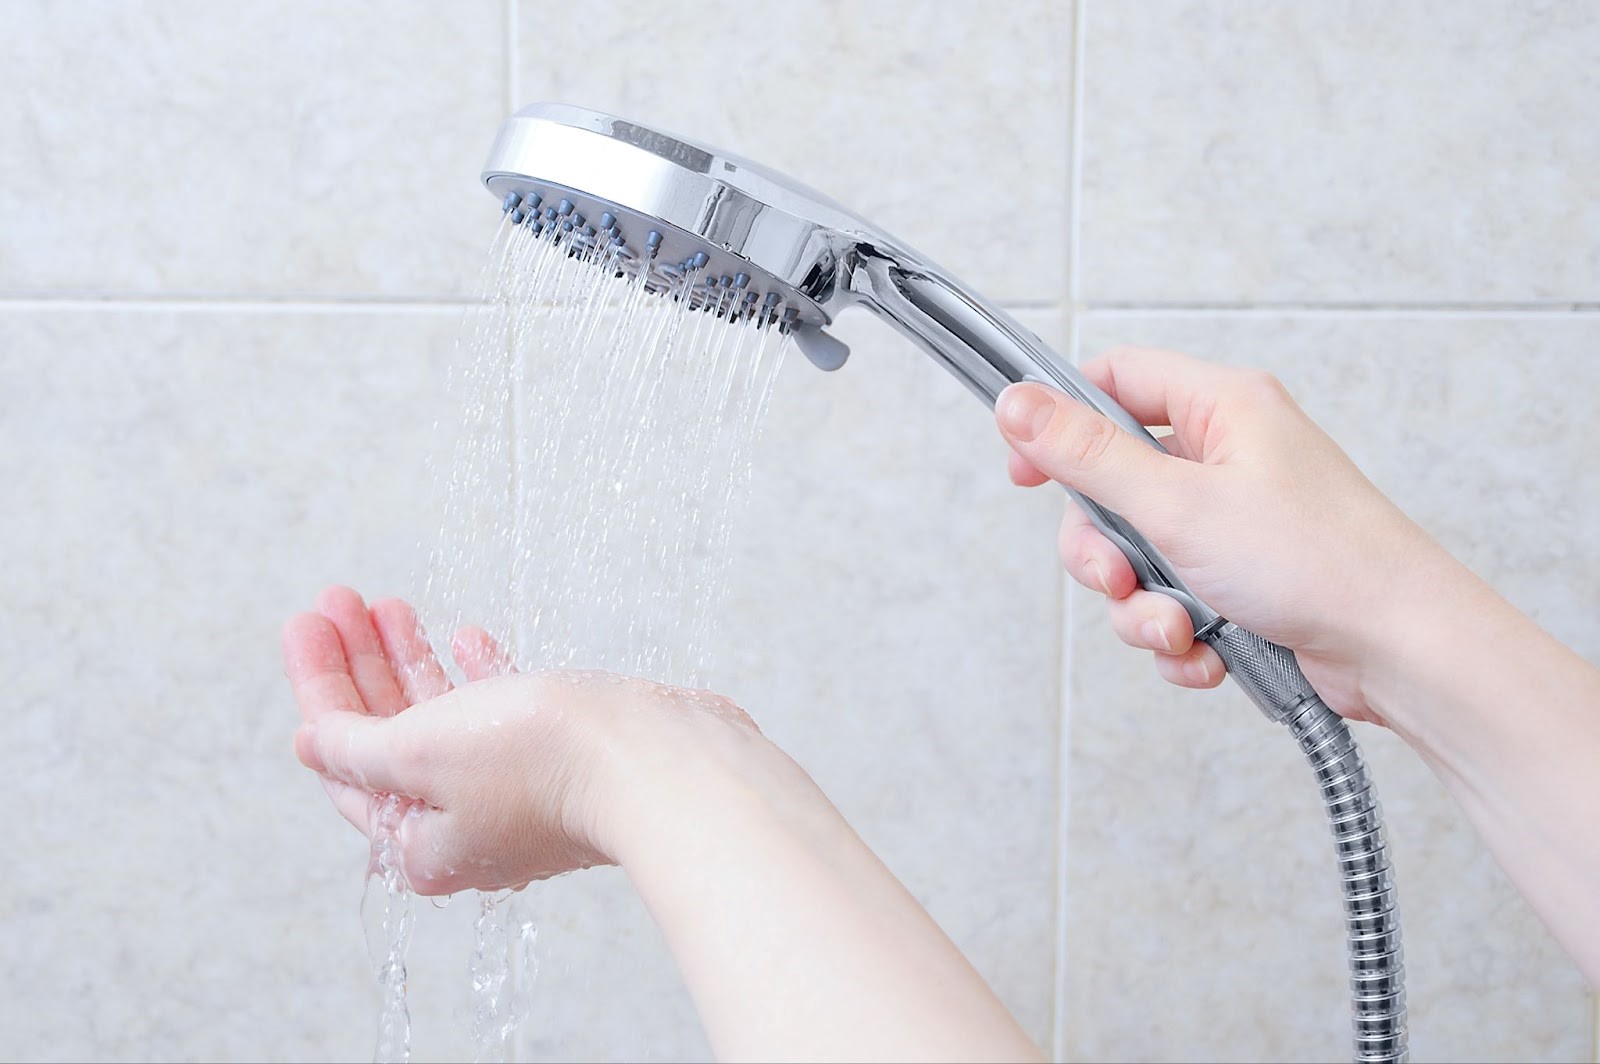
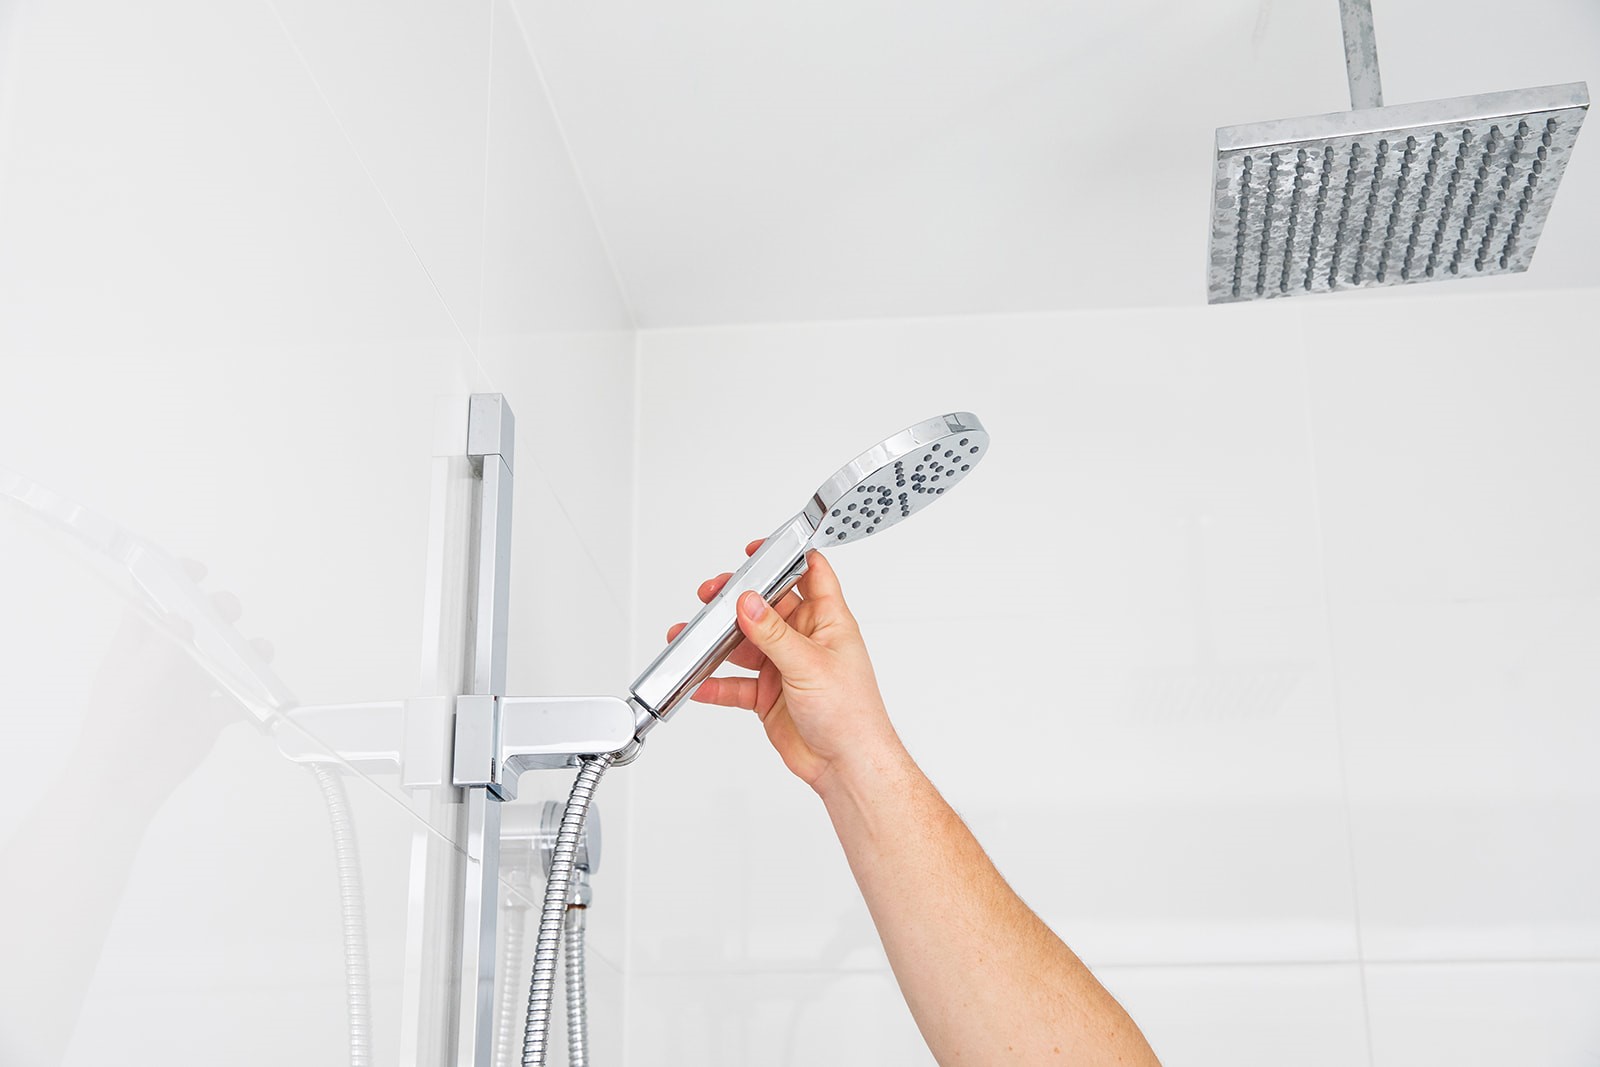
2. Handheld or mixed shower heads offer flexibility, allowing you to direct the water flow where needed, ideal for families with varying height requirements. Just be aware that these types can be more prone to leaks due to the flexi hose and connection.
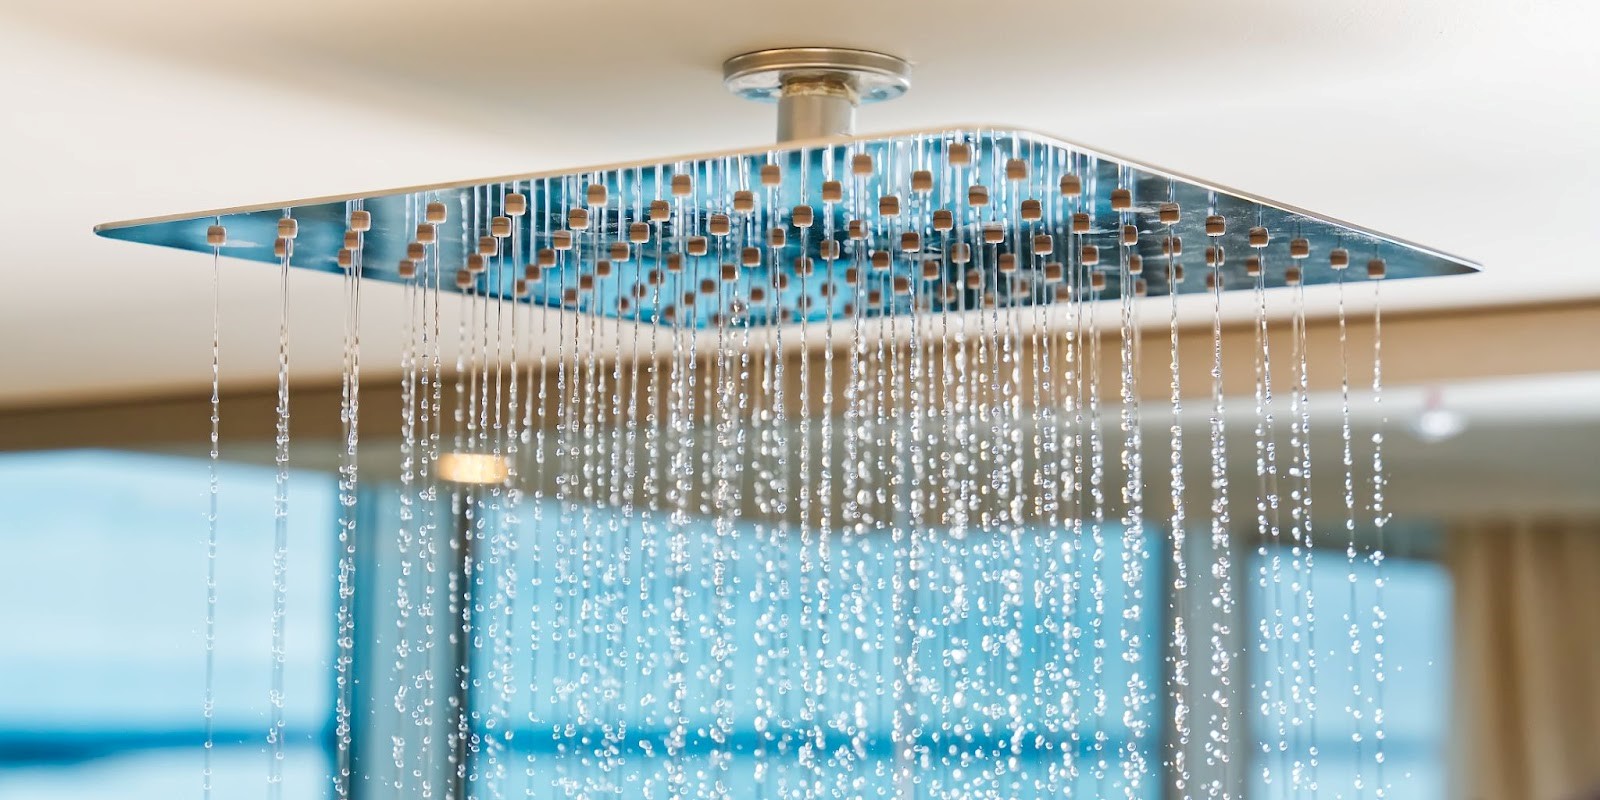
3. Rain shower heads are designed for a luxury showering experience, mimicking the gentle fall of rain for a soothing effect.
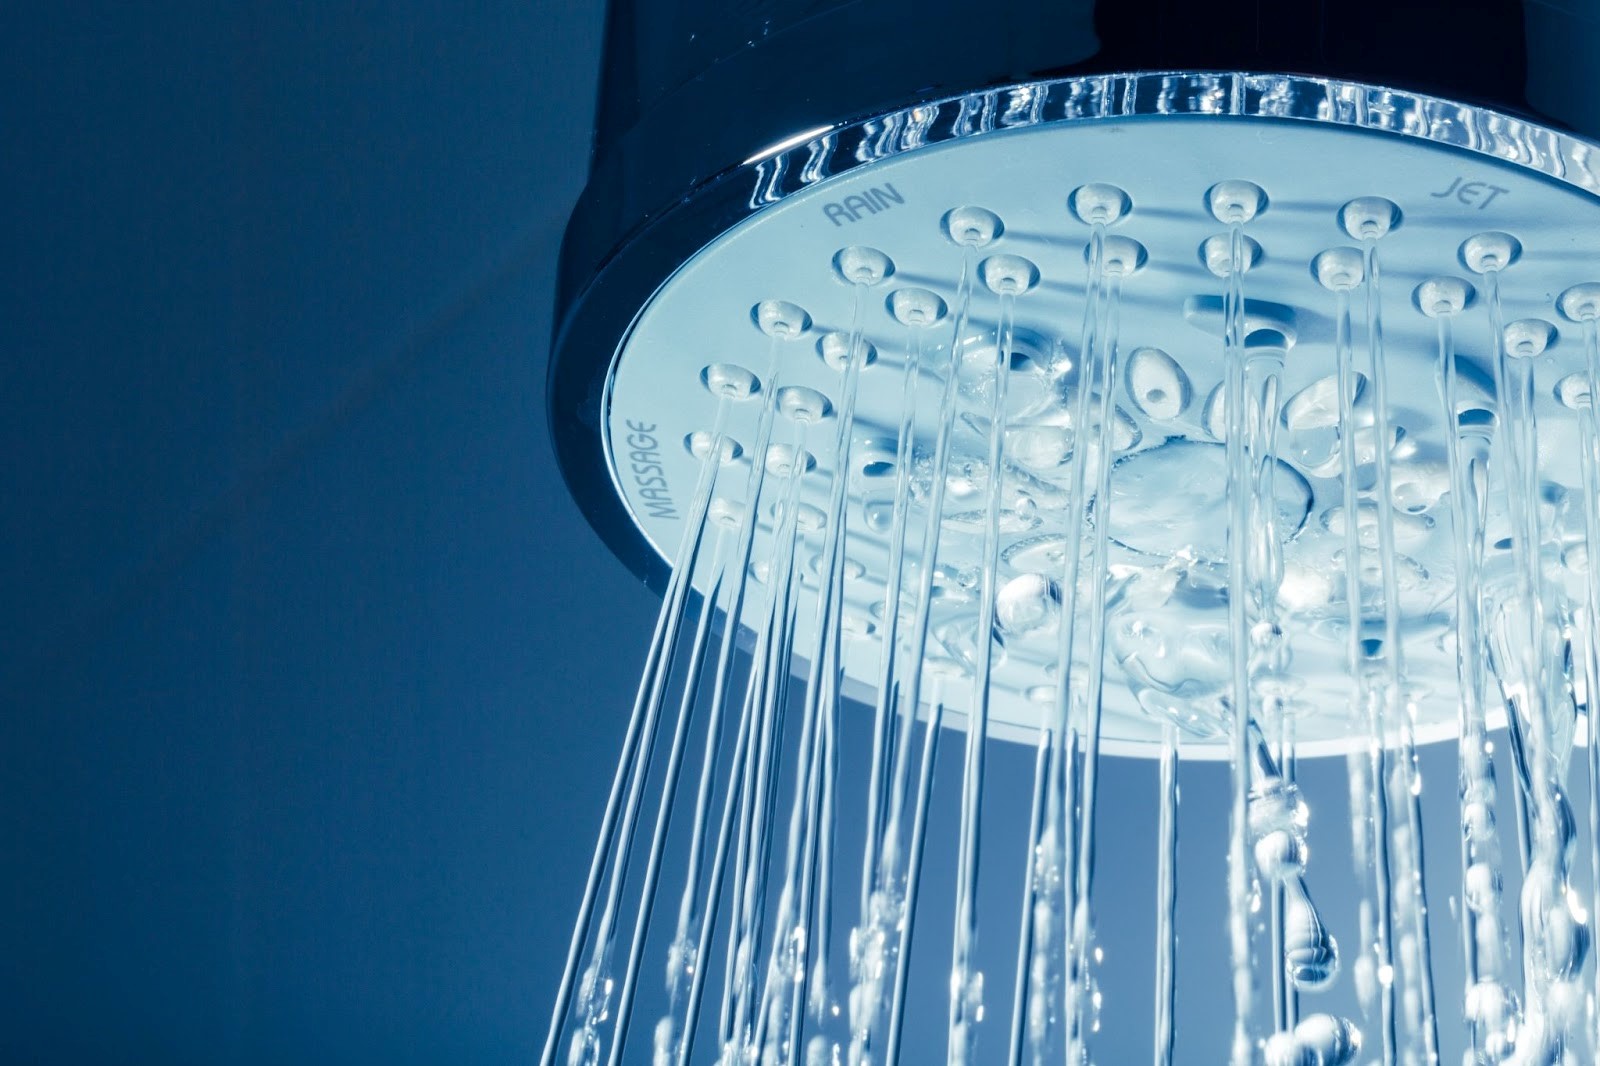
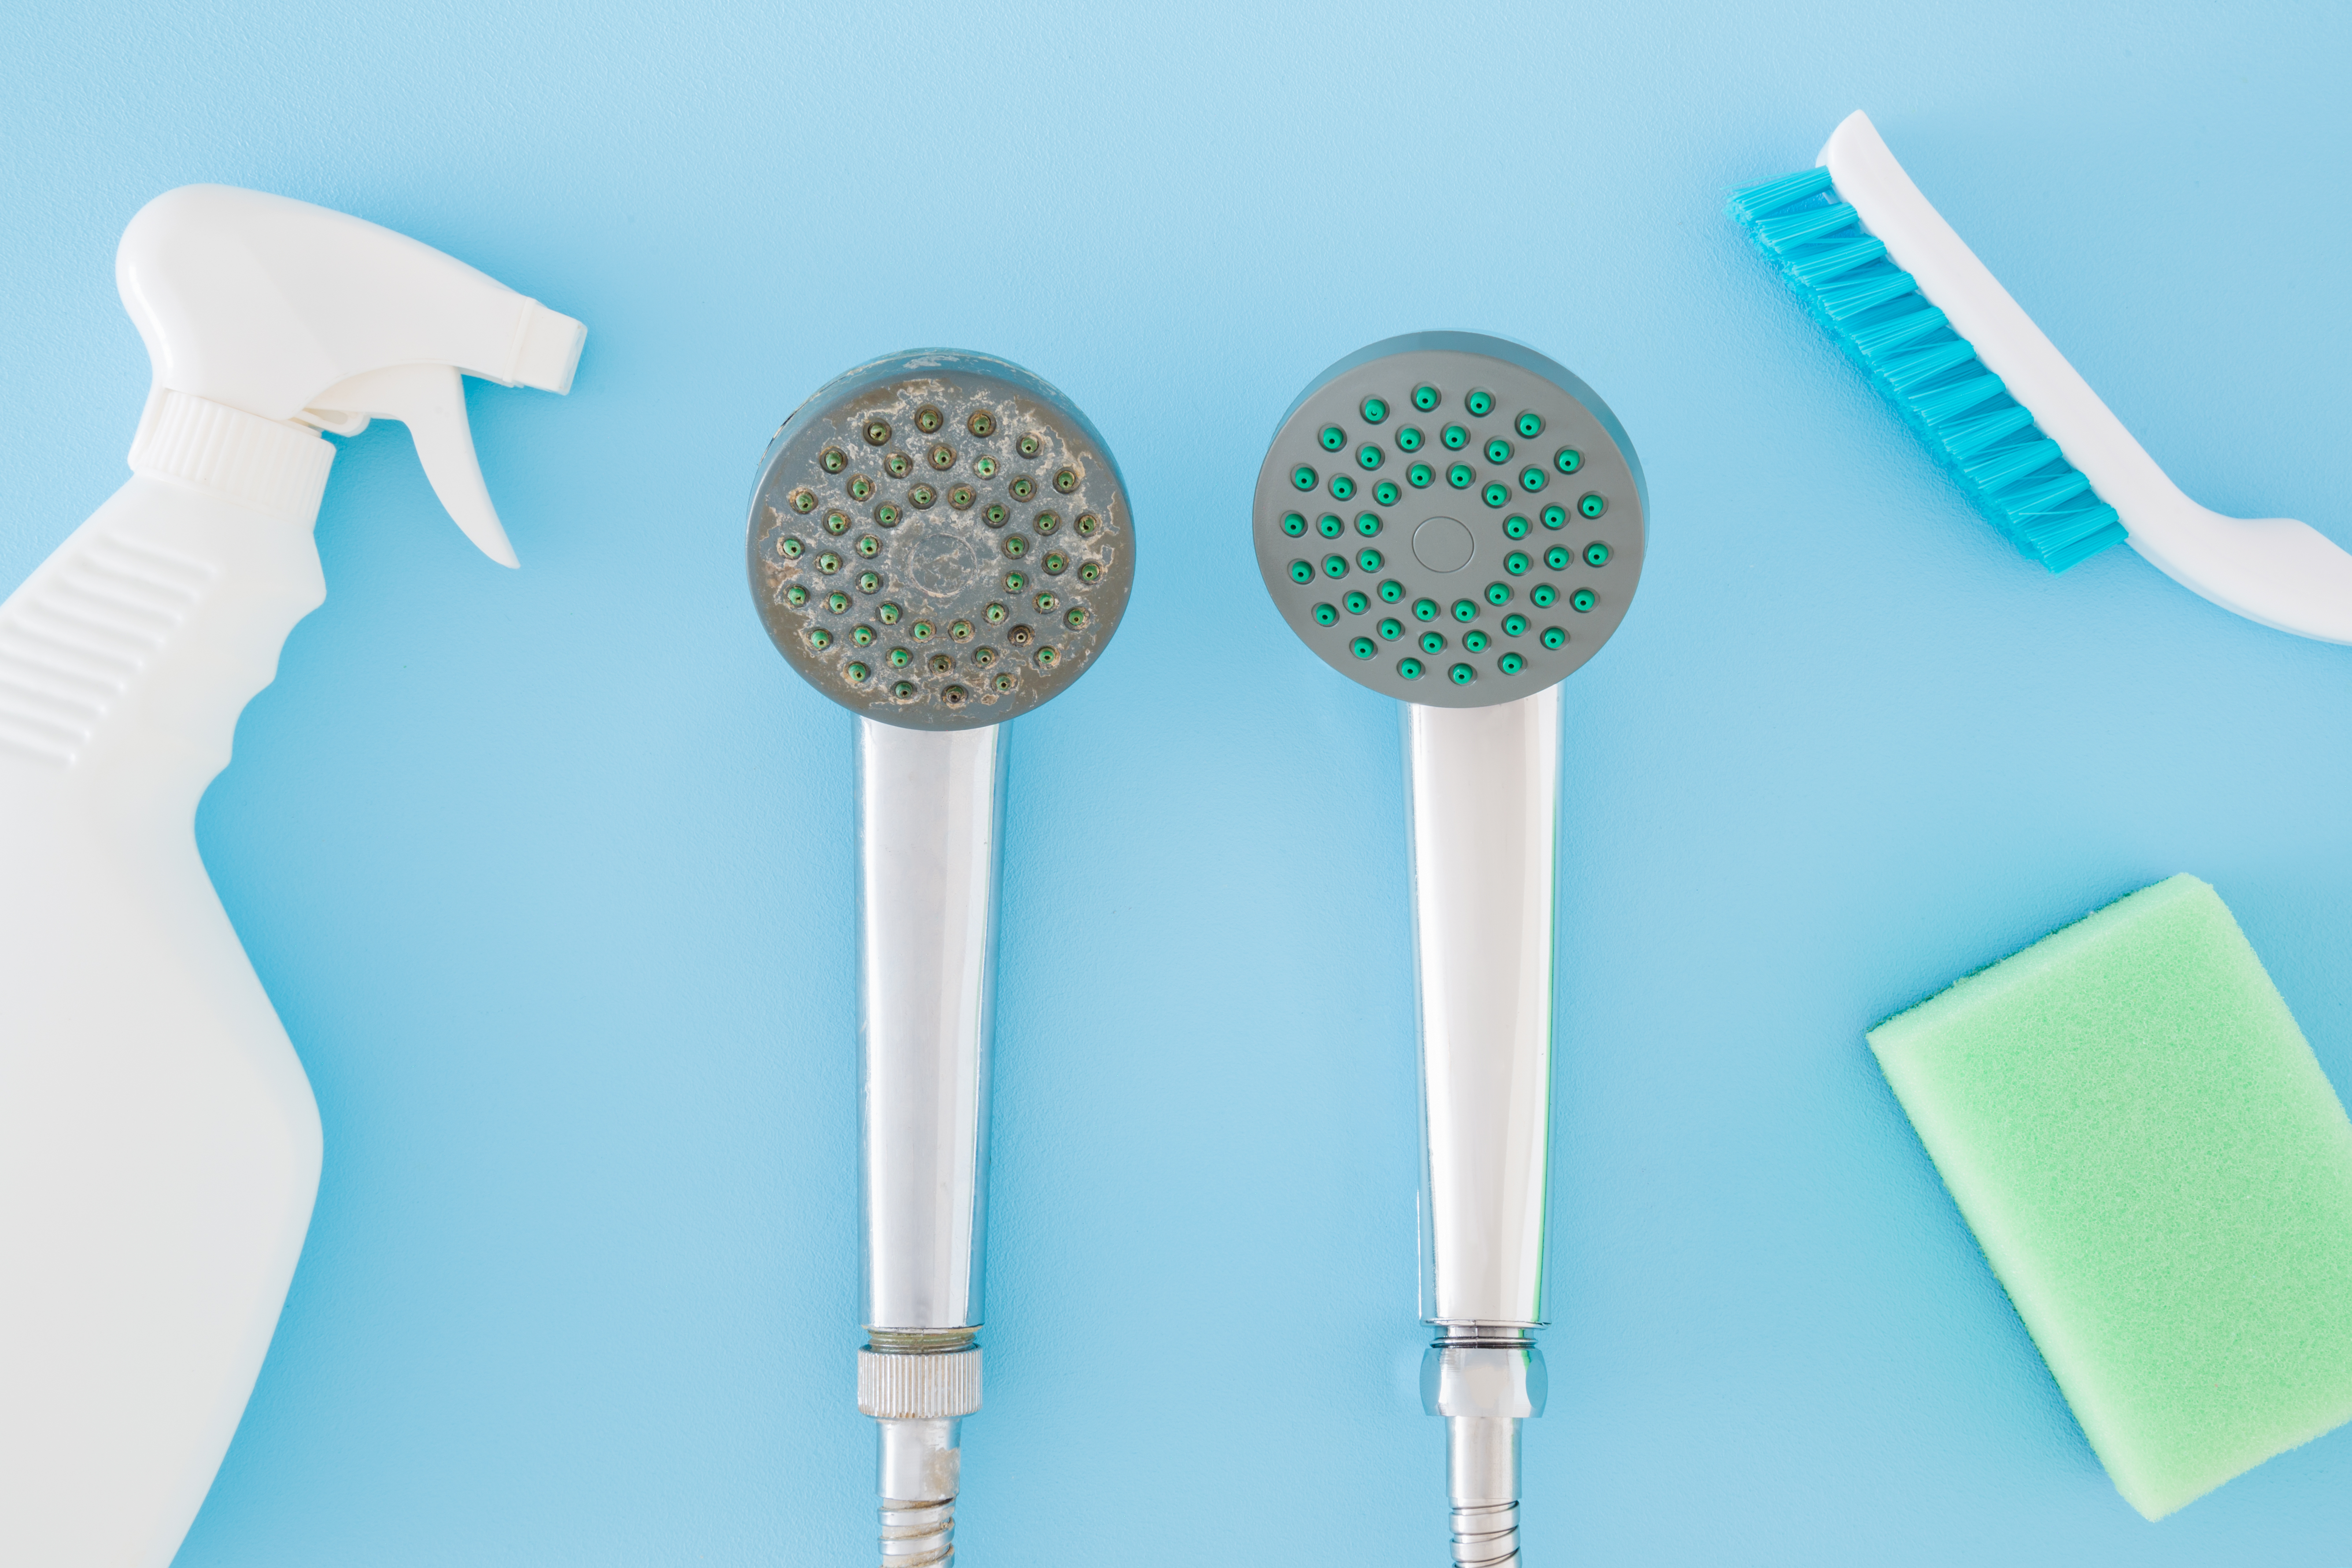
4. High-efficiency shower heads are engineered to reduce water usage without compromising on pressure, catering to eco-conscious consumers.
Tools and Materials You Will Need When Changing a Shower Head
Before you get started, ensure you have the following items:
- Adjustable wrench (shifter spanner)
- Teflon tape (AKA Plumber’s Tape)
- Stool or Ladder
- New Shower Head
- Cloth or Rag
- Bucket and Towels
Step-by-Step Instructions: Replacing Your Shower Head
Removing the Old Shower Head
- Turn off the taps. Ensure your shower taps are turned off completely to prevent any unwanted accidents!
- Protect the finish. Wrap a cloth around the base of the old shower head. This will protect its finish as you unscrew it.
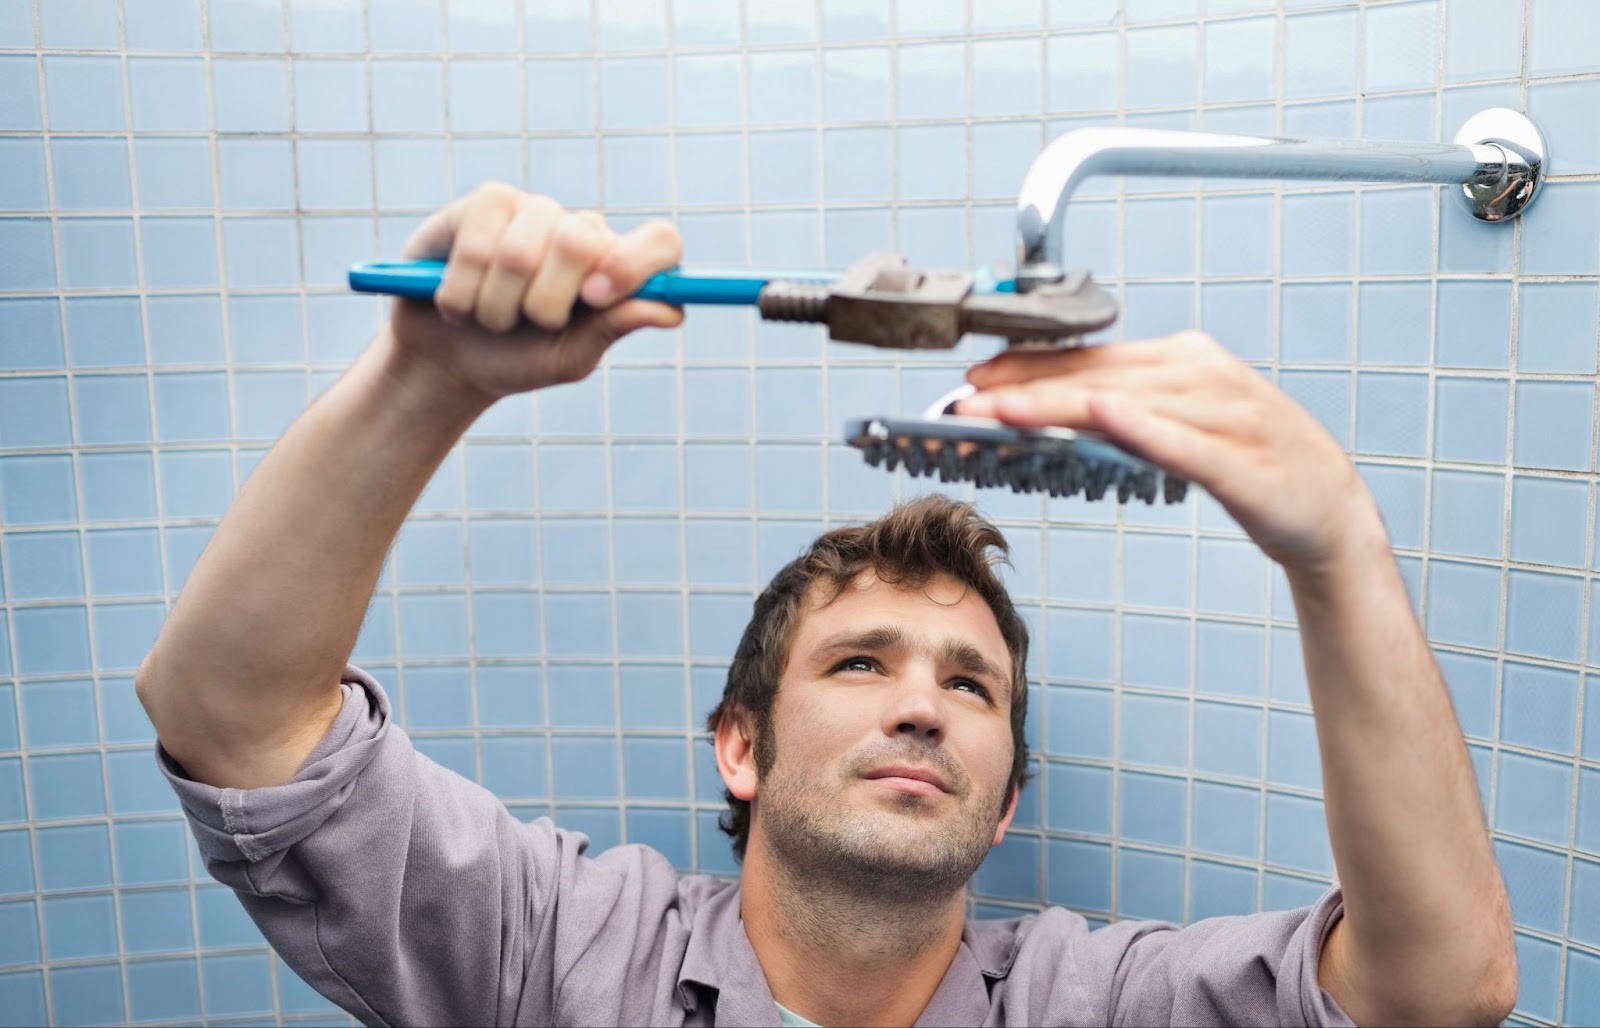
- Loosen and remove. Using the shifter spanner, gently loosen the old shower head by turning it anticlockwise. Once loose, finish unscrewing by hand and remove it.
Preparing the Shower Arm
- Clean the threads. Remove any old Teflon tape or debris from the threads of the shower arm to ensure a clean surface for the new shower head.
- Apply Teflon tape. Wrap new Teflon tape clockwise around the threads of the shower arm. This helps prevent leaks by ensuring a tight seal.
Installing the New Shower Head
- Hand tighten. Position your new shower head onto the shower arm and screw it in by hand, turning clockwise. Ensure it’s straight and securely attached.
- Final tightening. Using your wrench with a cloth to protect the finish, gently tighten the shower head to ensure it’s snug. Avoid over-tightening to prevent damage.
Testing for Leaks
- Turn on the water. Once the new shower head is securely in place, turn the water supply back on.
- Check for leaks. With the water running, inspect the connection between the shower head and the arm for any signs of leaking. If you notice any drips, turn off the water and slightly tighten the connection until the leak stops.
Congratulations, you did it! Your new shower head is ready to enjoy.
Should you ever feel uncertain or face challenges at any point along the way, give our expert team a call and we can put your mind at ease, by ensuring the installation is completed safely and accurately.
Ready for a Plumbing Upgrade?
If you’re feeling inspired after installing your new shower head and are considering further bathroom renovations, DCM Plumbing is here to help. From minor fixes to major overhauls, our expert team is ready to provide you with the best plumbing services on the Gold Coast.
Disclaimer:
While we provide experienced advice on how to replace a shower head, it’s important to remember that these instructions are intended to serve as a general guide. Shower heads can vary significantly in design, functionality, and installation requirements. Therefore, it’s important to check the instructions provided with your new shower head that are tailored to your particular model.