Installing a toilet suite might seem like a job that requires professional help, but with the right tools and guidance, you can actually DIY it. Whether you’re in Australia or elsewhere, this guide breaks down the process of installing a toilet.
Identifying if Your Toilet Needs Replacement
When contemplating whether your toilet needs a replacement, there are several telltale signs to look for.
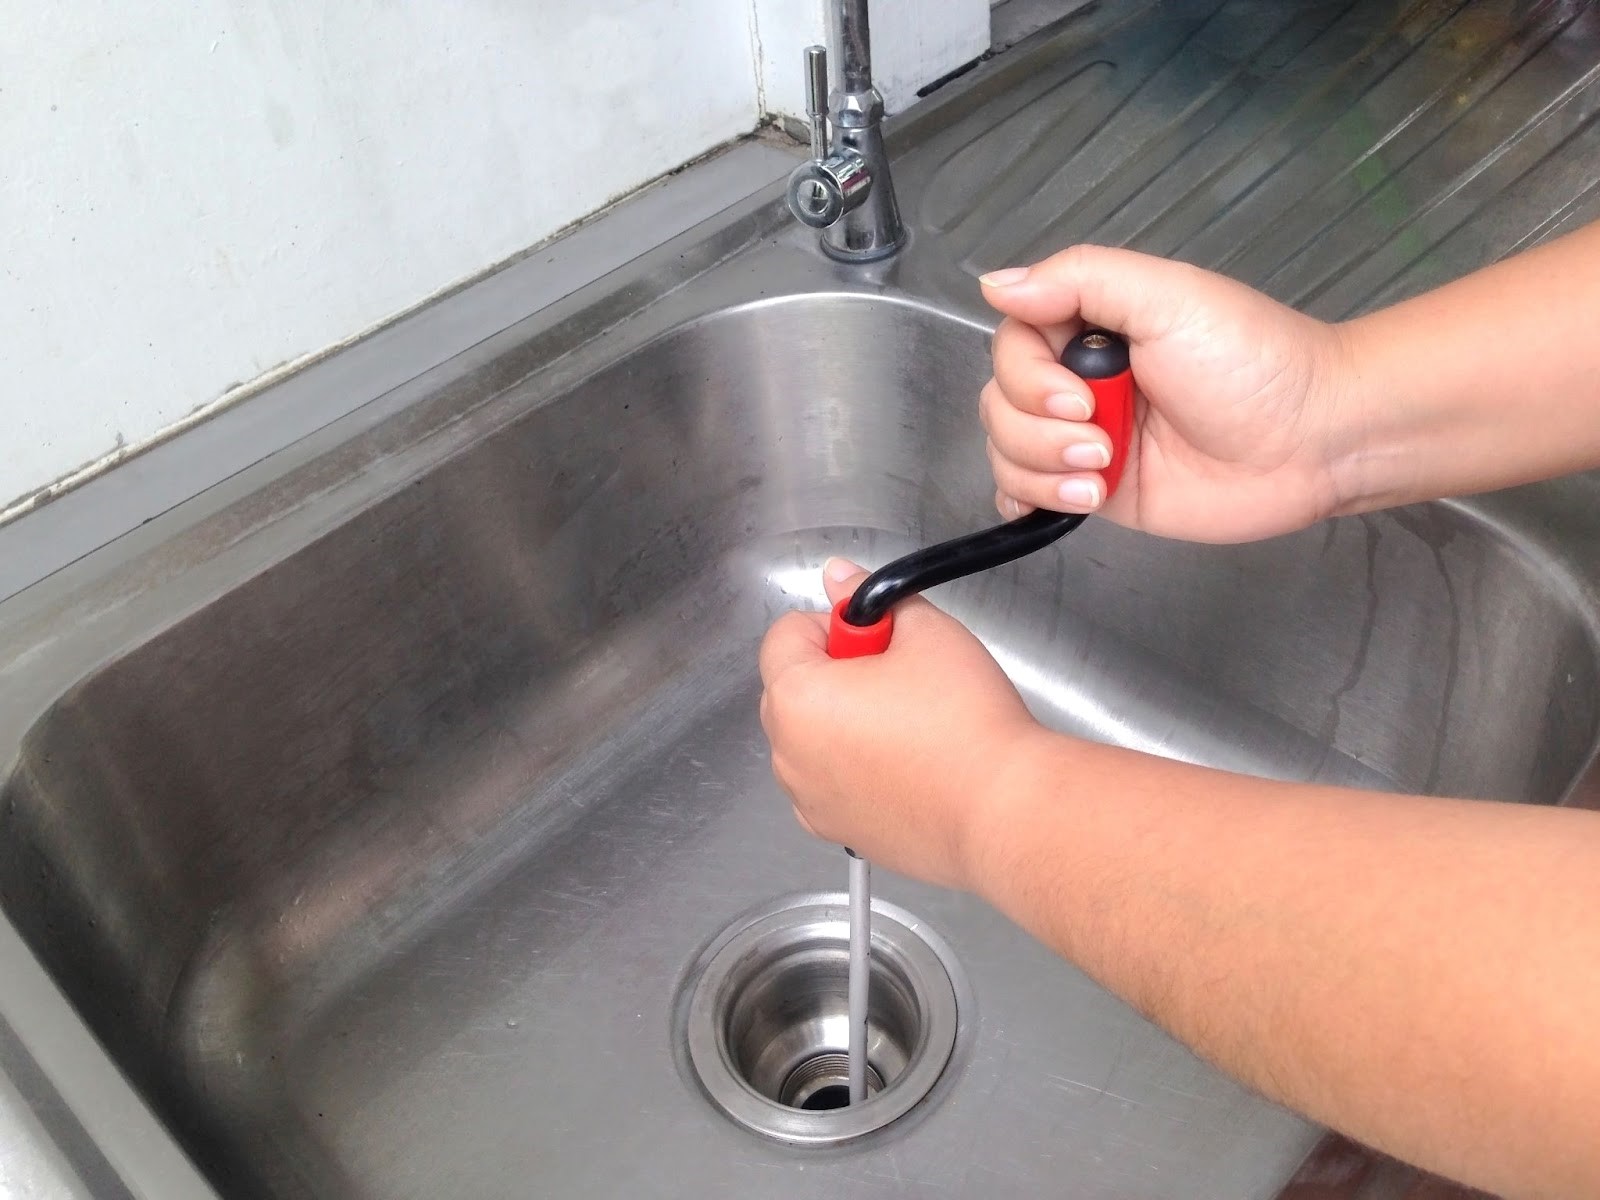
- Persistent clogs that resist plunger and auger interventions, hint at deeper issues possibly related to the toilet’s design or an obstructed trapway.
- Cracks in the porcelain, whether visible in the bowl or the cistern, can lead to leaks and structural failure over time. Moreover, if you notice water pooling around the base or leaks that persist after replacing the wax ring, it might be time for a new toilet.
- Additionally, older toilets use significantly more water per flush compared to modern, water-efficient models. Upgrading to a newer toilet not only conserves water but can also lead to noticeable savings on your water bill. If you’re experiencing any of these issues, it might be time to consider replacing your toilet.
Tools and Materials Needed
Once you’ve determined that your toilet needs replacing or you’re just ready for an upgrade, here are the necessary tools and materials you will need before you begin the installation:
- Shifter spanner (adjustable wrench)
- Putty knife
- Sponge and bucket
- New wax ring
- Toilet bolts
- Spirit or digital level
- Silicone caulk
- Screwdriver
- Cloth or towel
- Flush Pipe
- A new toilet suite (and its components)
Step-by-step guide on installing a toilet
Before you start
Before purchasing a new toilet, you need to make sure you buy one that fits in the place of your old one. To do this, measure the rough-in size before installing your toilet. This is the distance from the wall to the centre of the floor drain (in the direction your toilet faces). It can be hard to tell the exact distance, but the drainpipe should be located in the centre of the floor bolts of the toilet. Standard rough-in size in Australia is 140mm, but they can go up to 165mm or even 180mm. If your measurement doesn’t equal 140mm, check again to make sure you got it right, and make sure to choose a new toilet that fits!
Another thing that needs to be checked before getting started is that if you are replacing only the cistern or only the pan, that your new component is compatible with the old. The design of both components should match to ensure efficient flushing and water conservation. If the cistern and pan are sold separately, check the manufacturer’s specifications to confirm they’re intended to work together.
Part one: removing the old toilet
- Locate the shutoff valve near the base of the existing toilet and turn it clockwise to shut off the water. Flush the toilet to drain the water from the cistern and bowl. If there is any excess water left, get rid of it with a mop or sponge.
- Unscrew the water supply line from the cistern. Have a bucket handy to catch any water.
- Remove the caps covering the bolts at the base of the toilet, then unscrew the nuts. If the bolts are rusted, you may need a hacksaw to cut them off.
- Rock the toilet gently to break the seal with the floor and lift it away. It’s a good idea to have someone help you with this step as toilets can be heavy. Place the old toilet on a trash bag or old towel to avoid mess.
Part two: preparing the area for the new toilet
- Remove any remnants of the wax ring from the floor flange (the fixture attaching your toilet to the drain pipe) and around the drain hole. Check the flange for damage; it should be securely attached to the floor. If the flange is damaged or worn, a replacement may be necessary.
- Use your level to ensure the flange is even with the floor. An uneven flange can lead to a poor seal and potential leaks (which we obviously don’t want)!
Part three: installing the new toilet
- Position a new wax ring on the flange. Some prefer a wax-free silicone ring for a mess-free installation and a good seal.
- Carefully align the toilet over the flange, using the bolts as a guide. Press down firmly to set the wax ring.
- Place the washers and nuts on the bolts and tighten them gradually, alternating sides to apply even pressure. Be careful not to over-tighten, as this can crack the porcelain.
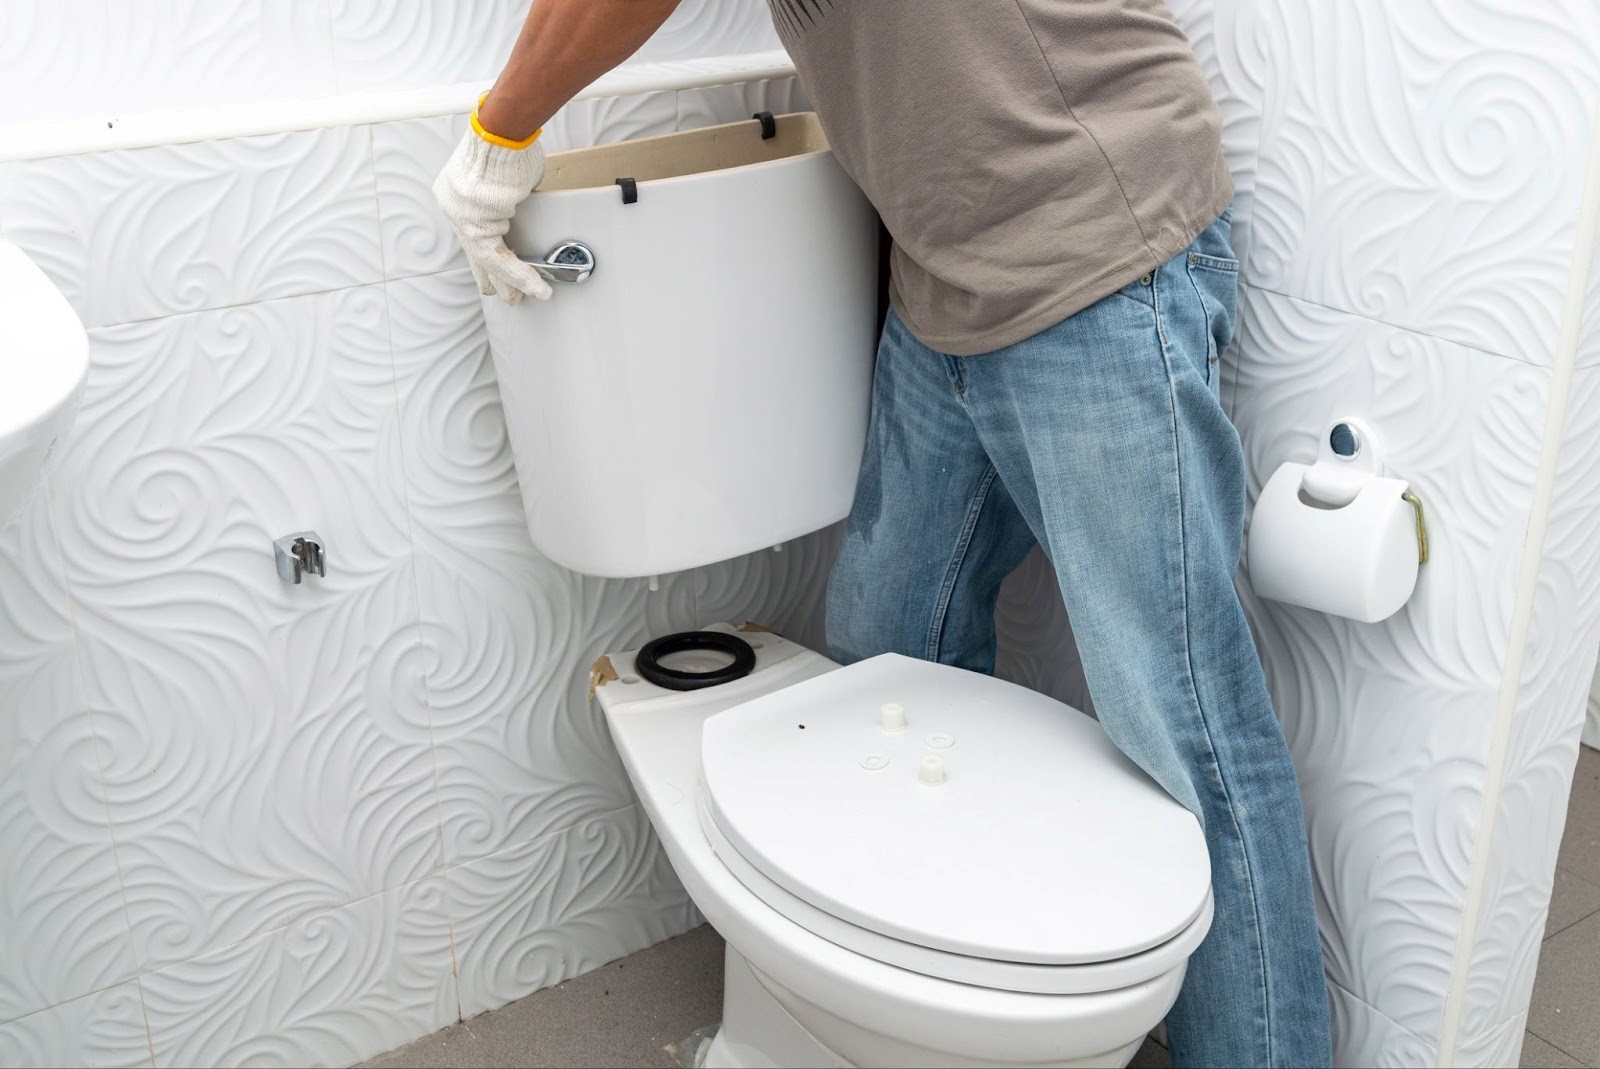
- Install the cistern, placing the cistern atop the pan, making sure it sits evenly and securely.
- Connect the flush pipe from the pan to the cistern. Ensure the flush pipe’s seals are intact and correctly positioned before connecting. This step might require some adjustment to achieve a snug fit and maintain the integrity of the water flow from the cistern to the bowl.
- Reattach the water supply line to the toilet cistern. Turn on the water supply and allow the cistern to fill.
Part four: final steps
- Follow the manufacturer’s instructions to attach the toilet seat.
- Once the cistern is full, flush the toilet several times to ensure everything is working correctly. Check for leaks around the base and where the water supply line connects to the cistern.
- Applying caulk around the base of the toilet is optional but recommended for a neat finish and to prevent water from getting under the toilet.
FAQs About Toilet Installation
Do I need special tools to install a toilet?
While basic hand tools can accomplish most of the installation, having a wrench set, a level, and a hacksaw can be particularly useful. A wax ring, toilet bolts, and possibly a new supply line might be needed as well.
How do I know if the new toilet will fit my bathroom?
Measure the “rough-in” distance, which is the space between the wall behind the toilet and the centre of the drainpipe or bolts that hold the toilet to the floor. Most toilets are designed for a 140mm rough-in.
Can I replace an old toilet with any new model?
Yes, but ensure the new toilet’s dimensions fit your space and the rough-in distance matches. Also, consider the toilet’s design for compatibility with your bathroom’s style and plumbing.
What should I do if the toilet wobbles after installation?
A wobbling toilet often means the floor isn’t level or the bolts aren’t tight enough. Use or wedge shims to stabilise the toilet and ensure the bolts are snug, but don’t over-tighten them as this can crack the porcelain.
How do I prevent leaks between the toilet and the floor?
Ensure the wax ring is properly seated and creates a watertight seal between the toilet base and the drain flange. If leaks persist, the wax ring may need to be replaced or repositioned.
Is it normal for the toilet to have a slight leak after installation?
No, any leaks indicate a problem, such as a faulty seal or loose connections. Check the installation points carefully and address any issues immediately to prevent water damage.
Additional Tips
When considering installing a toilet in Australia, remember to be mindful of your local plumbing codes and water efficiency standards. Should you encounter any challenges along the way, or prefer the assurance of professional installation, DCM Plumbing is here to help. Our experienced team ensures your toilet installation meets the highest standards, offering you peace of mind and reliability. Ready to upgrade your bathroom? Contact us today for expert plumbing services.