In this blog, we look at how to renovate your bathroom in 11 easy steps. From beginning to end, we have you covered.
Planning a bathroom renovation? Begin by setting a clear vision, assessing the plumbing needs, and deciding on DIY versus professional help. From layout design to fixture selection, each step matters. This guide helps navigate the renovation process, ensuring a smooth and successful transformation of your bathroom space. Let’s embark on this journey to create your ideal bathroom.
DCM Plumbing is the best plumber on the Gold Coast. We are available 24/7 for all your plumbing needs. With 1000+ 5* Google reviews and 35 years of experience, we are known as the best for a reason. Need a plumber for your bathroom renovation? We can help.
Your Complete Bathroom Renovation Guide
Step 1: Figure Out What You Like
Starting a bathroom renovation begins with understanding what you like. Explore different designs to understand what resonates with you. Look through magazines, visit showrooms, and scroll through online inspiration platforms, even check out our blog on the types of bathroom fixtures. Pay attention to the styles, colours, and layouts that catch your eye. Are you drawn to modern minimalism, classic elegance, or a bohemian vibe? Do you want a minor reno or do you want to make the whole bathroom a wetroom? Here are some other reasons why figuring out what you like first is so important:
- Understanding your preferences early on helps streamline the decision-making process, narrowing down options for easier material and design element selection.
- Your style preference forms the foundation of all subsequent design decisions, influencing everything from tile selection to fixture choice.
- Aligning the renovation with your tastes guarantees that the end result is a space where you feel comfortable and relaxed.
- Knowing your preferred style can assist in budget allocation, as some styles may require a higher budget due to material costs or design complexities.
- Your style choice, like a wet room, can impact the renovation’s scope, affecting work complexity and duration due to extensive waterproofing and floor modifications.
- If working with designers or contractors, being able to articulate your preferences clearly ensures a more efficient and satisfactory renovation process.
Once you know what you like, the real planning can begin.
Step 2: Start Planning
Now, it’s time to start planning. Reflect on what you like about your current bathroom. Does it just need a little refresh, or are you envisioning something entirely different? Sometimes, simple changes like new tiles or fixtures can alter the space enough to not need a full remodel. For layout changes, consider the implications on plumbing for toilets, sinks, and showers. Hiring a draftsperson or architect for detailed plans can be helpful, especially to meet state building regulations and codes, like minimum distances between fixtures. Read more in the QBCC’s home owner’s guide to building and renovating PDF.
This is also when you should start making a budget. Your budget should look at:
- Fixtures
- Tiling
- Plumbing
- Electricals
- Waterproofing
Bathroom renovations vary widely in cost, typically ranging from $5,000 for minor renovations to $35,000 for extensive work. Always include a contingency plan, which should be about 10-20% of your budget, for unforeseen expenses. This planning stage is crucial for a successful, well-budgeted renovation.
Step 3: Put Together Your A-Team
Assembling the right team is key to turning your bathroom renovation plans into reality. Start by identifying the types of contractors you’ll need – typically a builder, plumber, electrician, tiler, waterproofer, and possibly a painter. Seek recommendations from friends or look at online reviews to find reputable professionals! Verify their credentials, experience, and ensure they are licensed and insured. We have over 1000 5* Google reviews, so if you’re on the Gold Coast you know you can trust us for your bathroom renovations!
It’s also wise to get multiple quotes to compare services and prices. Discuss your vision and plans in detail with your chosen contractors, ensuring they understand your expectations. Good communication is crucial for a smooth renovation process. Remember, the cheapest option is rarely the best; focus on finding contractors who offer quality, reliability, and fair pricing.
Step 4: Let the Games Begin
Now is when the real work starts – the demolition phase. If you’re planning to keep the existing layout of your bathroom while updating fixtures and surfaces, the demolition can be more selective. However, a full-scale remodel usually requires more extensive work.
This involves removing old fixtures, tiles, and surfaces, along with demolishing any unnecessary walls. For bathrooms with showers, this includes taking out the doors and bathtub. You might opt to store these items for future use. If so, ensure they’re thoroughly cleaned and dried to prevent damage from prolonged moisture exposure.
During this phase, your chosen contractors will also ensure to disconnect all electricity alongside ensuring that all water inlets are switched off or capped – for obvious reasons!
Step 5: Rough-In Plumbing
Rough-in plumbing and electrical installations are the next crucial steps in your bathroom renovation.
For plumbing, the plumber strategically cuts holes in wall studs of timber-framed houses to run pipes, ensuring supply and drainage at needed locations. If using steel frames, pre-made holes typically accommodate plumbing needs. It’s vital that pipes are securely fastened to the frame to prevent ‘water hammer’, which can cause mechanical damage over time.
Electrical rough-ins involve planning for lighting, power points, and any other electrical requirements. Just like plumbing, any substantial alteration to wall studs for electrical wiring must be repaired or reinforced to maintain structural integrity. Electricians carefully plan and mark the locations for fittings to ensure accuracy before the final wall setup.
Both these steps lay the foundational systems of your bathroom, ensuring functionality and compliance with Australian/New Zealand standards.
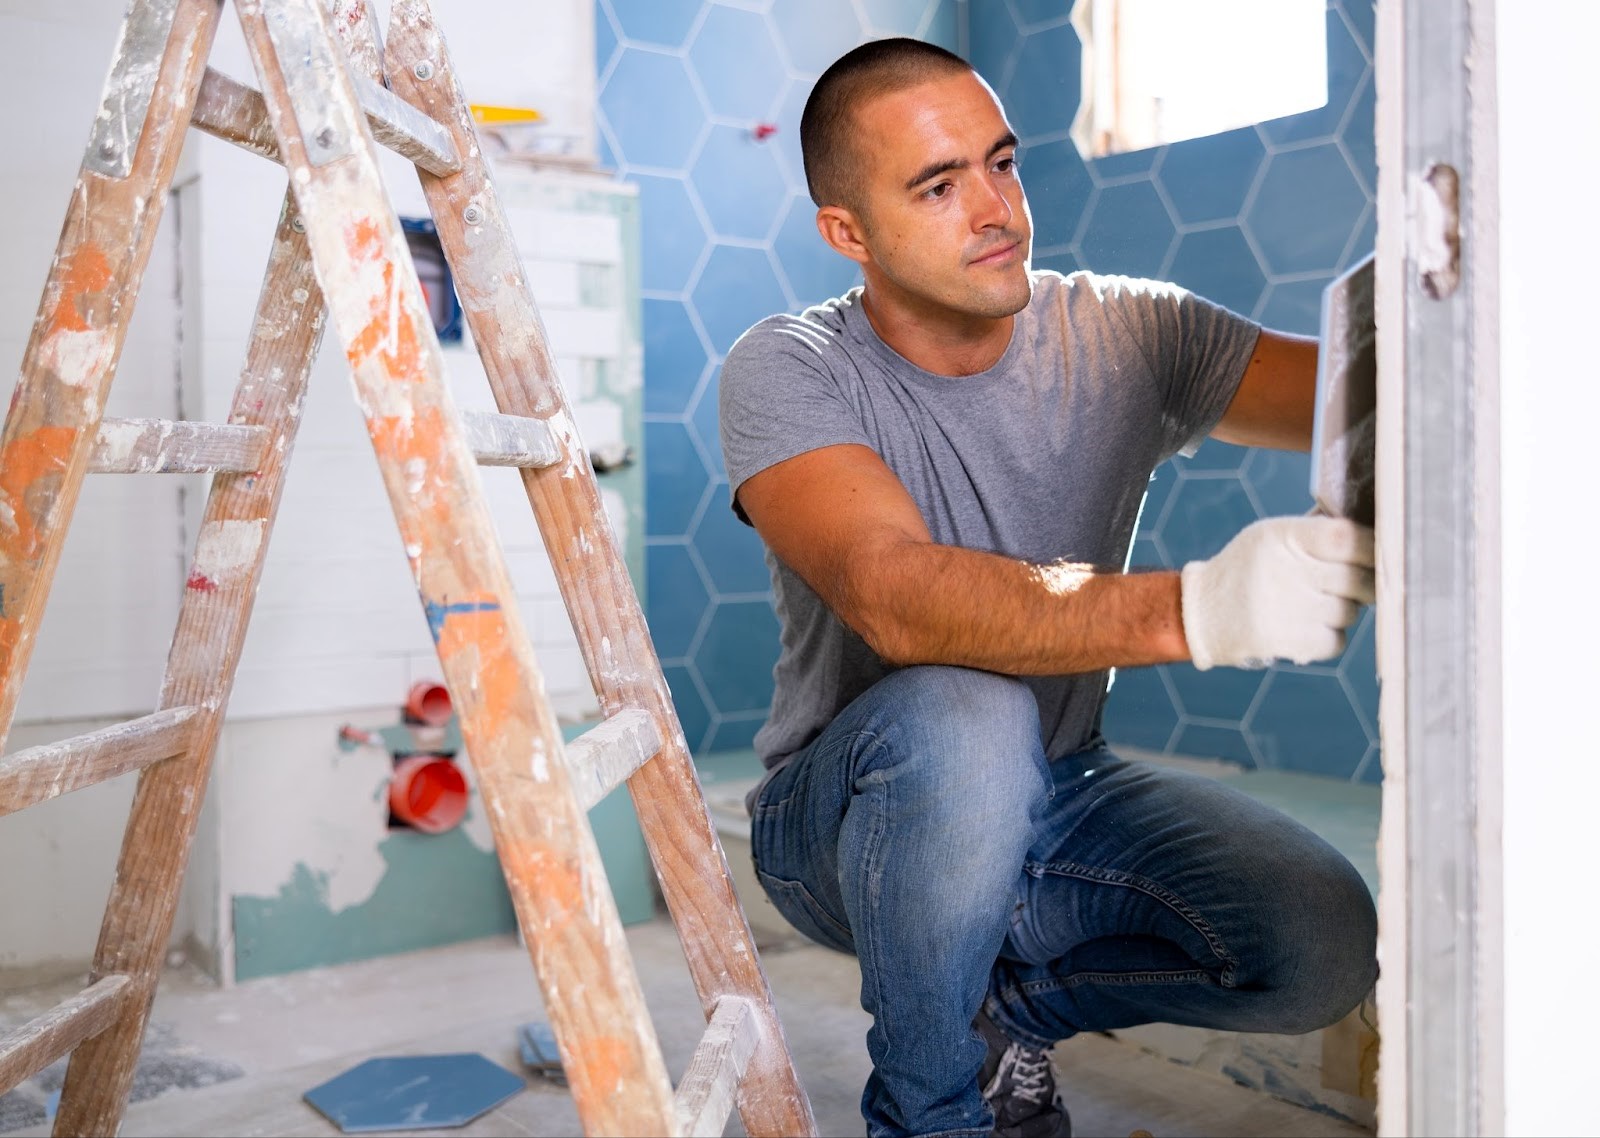
Step 6: Install Wall and Floor Tiles
With the fixtures in place, the next step is tiling. Expert tilers will transform your space, whether it’s following the existing layout or crafting a new one from scratch. They’ll meticulously measure and plan the layout, using high-quality, durable, and easy-to-maintain tiles suited for the unique demands of a bathroom environment.
Step 7: Install Cabinets and Countertops
The installation of cabinets and countertops is where design meets functionality. Your team will assist in selecting the right materials that balance aesthetics with practicality. Whether you opt for custom-built cabinetry or pre-built units, they will ensure a seamless fit into your bathroom’s design. Countertops are chosen for their durability and ease of maintenance, with stone being a top choice due to its fantastic aesthetic alongside unparalleled durability. Laminate is another popular choice due to its lower price point, but it is less durable than stone.
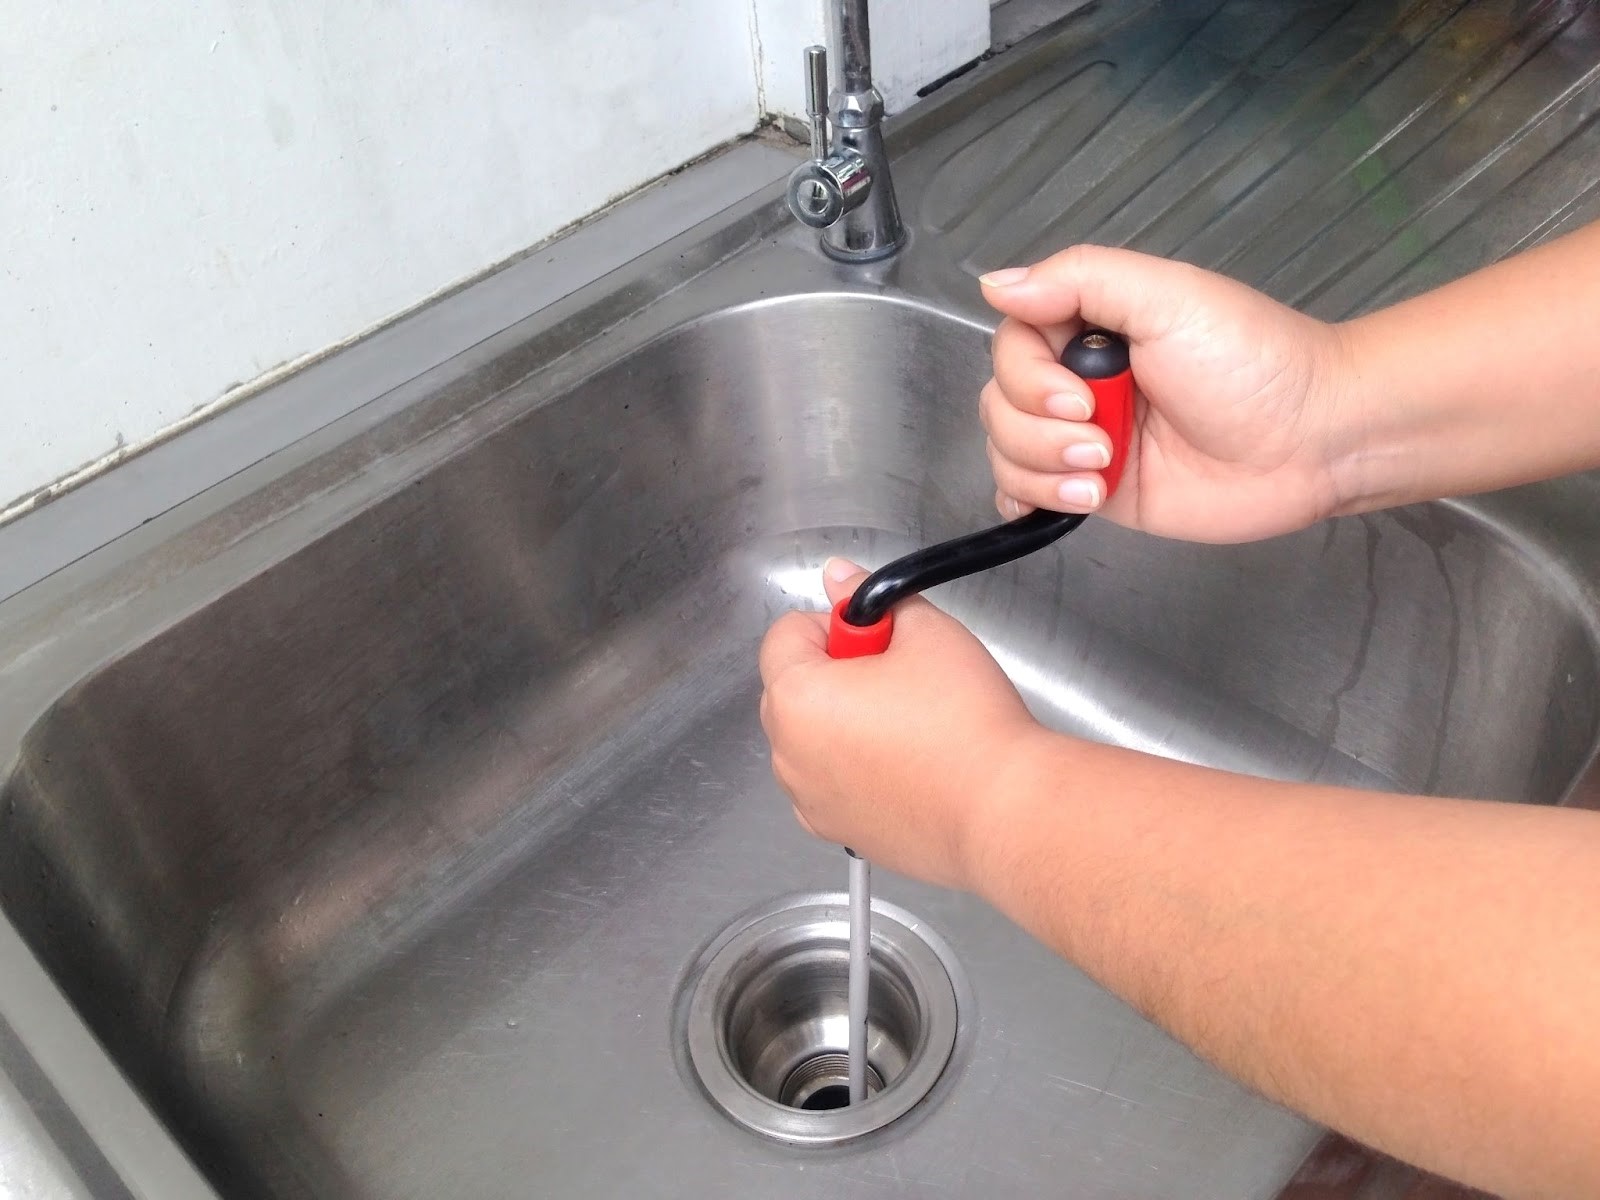
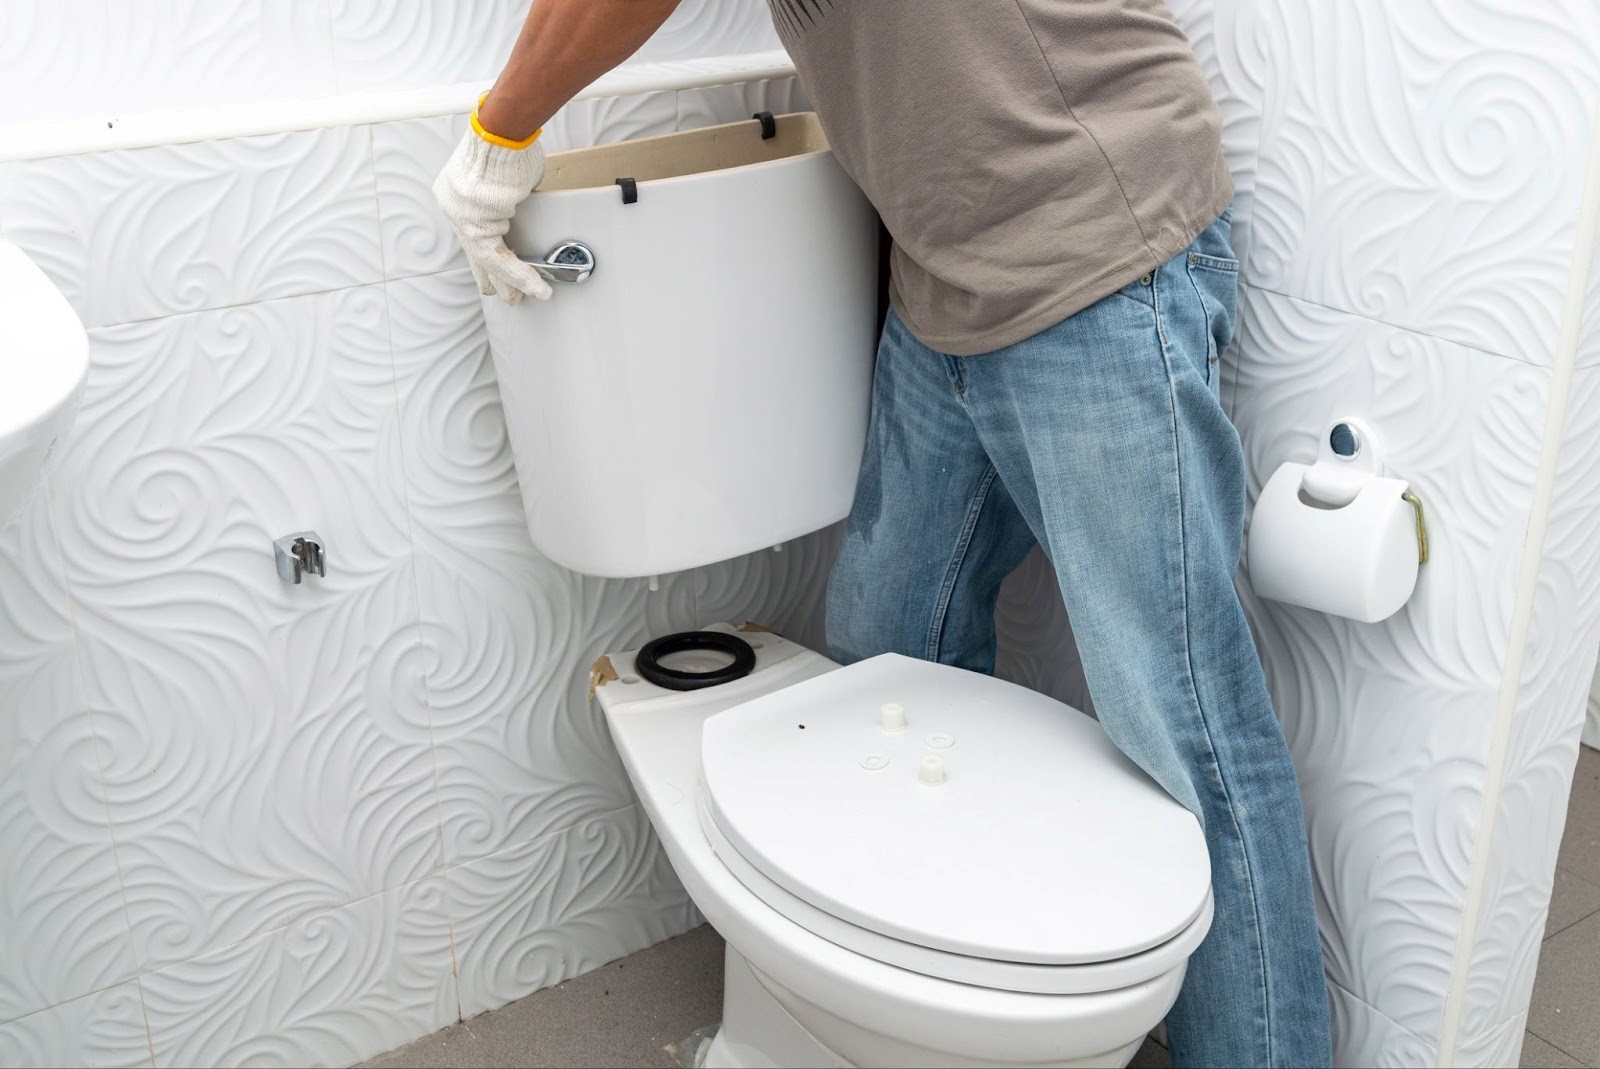
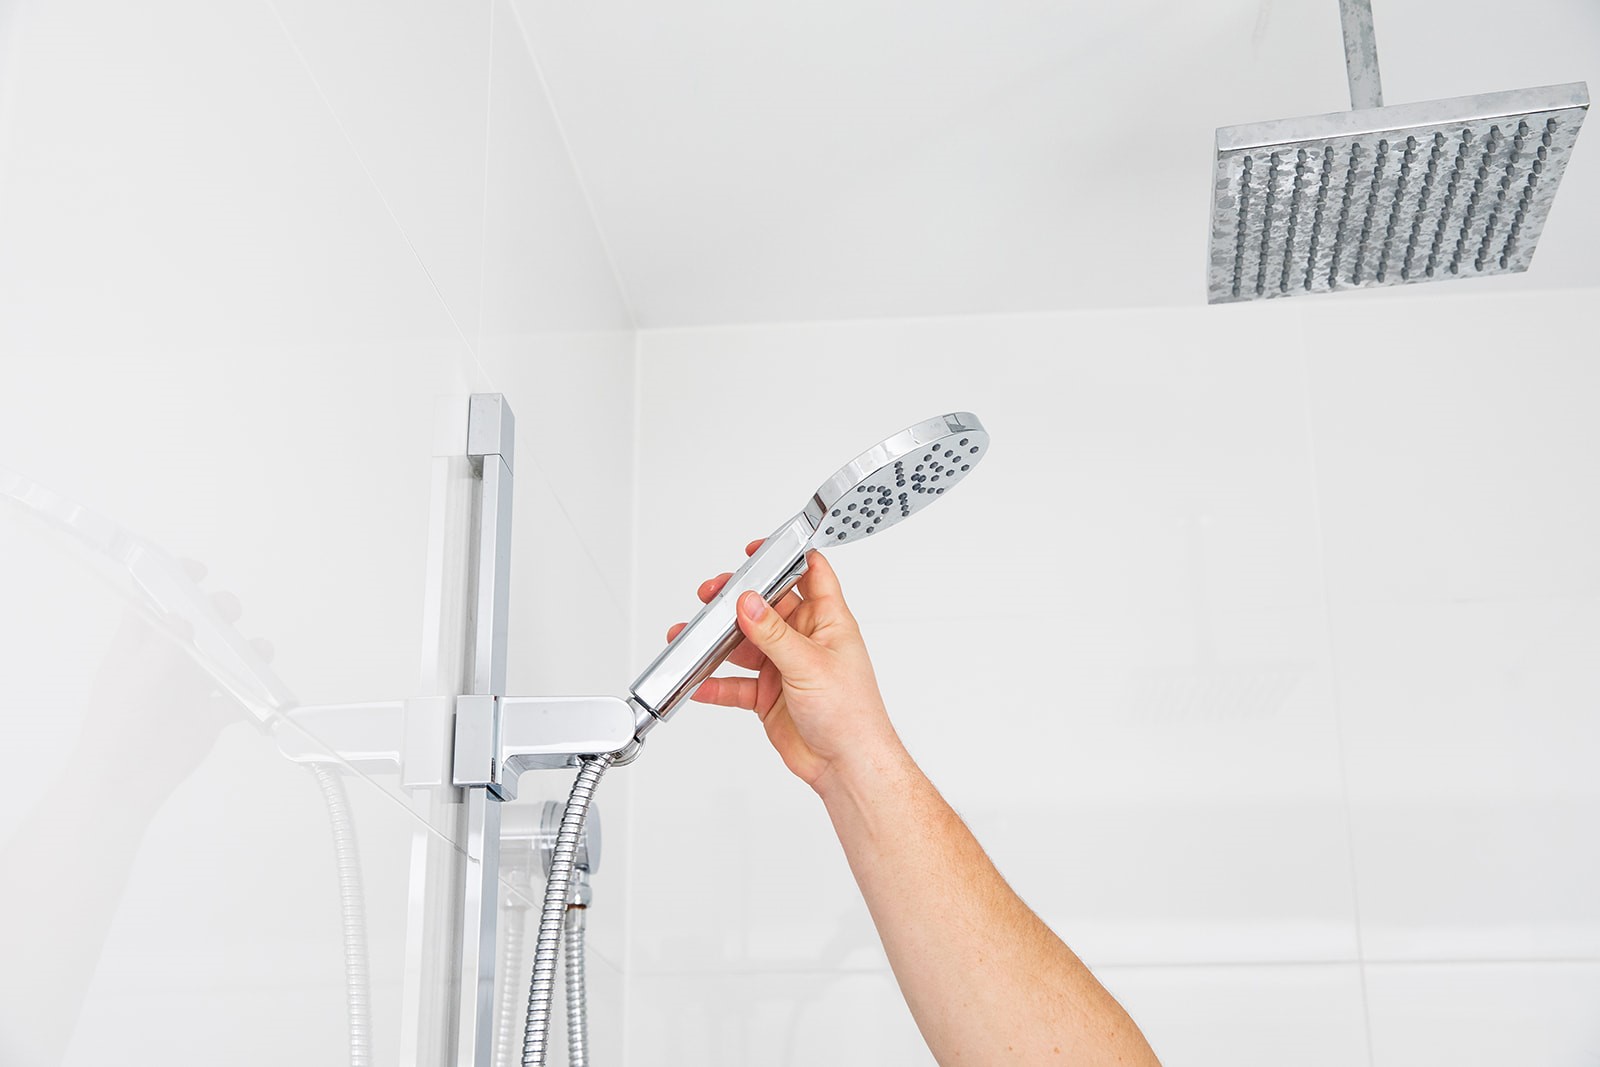
Step 8: Install Plumbing Fixtures
After demolition, the next step is usually to install new plumbing fixtures: the sink, toilet, shower, and bathtub. Your chosen plumber will run the necessary plumbing lines, which might involve cutting through exterior walls or studs. For non-replacement tubs or showers, your waterproofer will also install a waterproof membrane on walls and floors.
Step 9: Install Lighting and Accessories
This involves installing lighting fixtures and bathroom accessories. This step is crucial in setting the mood and functionality of your renovated bathroom. From stylish and practical lighting to essential accessories like towel rails and toilet roll holders, each element is carefully selected and installed to complement the overall design. Personal touches like artwork or plants are encouraged to give your bathroom a unique and homely feel.
Step 10: Cleaning and Quality Assurance
Experienced professionals from DCM Plumbing and associated trades will meticulously check each aspect of the renovation, but it’s always wise to test the work yourself!
Ensure that:
- All plumbing installations, including pipes, fixtures, and connections, are leak-free and function correctly
- All tiles are properly laid and fixtures are correctly installed and aligned
- All electrical installations, such as lighting and power outlets, are safe and operational
- Areas subjected to water exposure are thoroughly waterproofed to prevent future moisture issues
- The quality of finishes, including paint, cabinetry, and accessory fittings, align with your design vision and are free of defects
This final inspection guarantees that your renovated bathroom not only looks great but is also safe, functional, and built to last. Any minor adjustments or corrections identified during this phase should be promptly addressed to ensure your complete satisfaction with the end result.
Step 11: Tidy Up and Call It a Day!
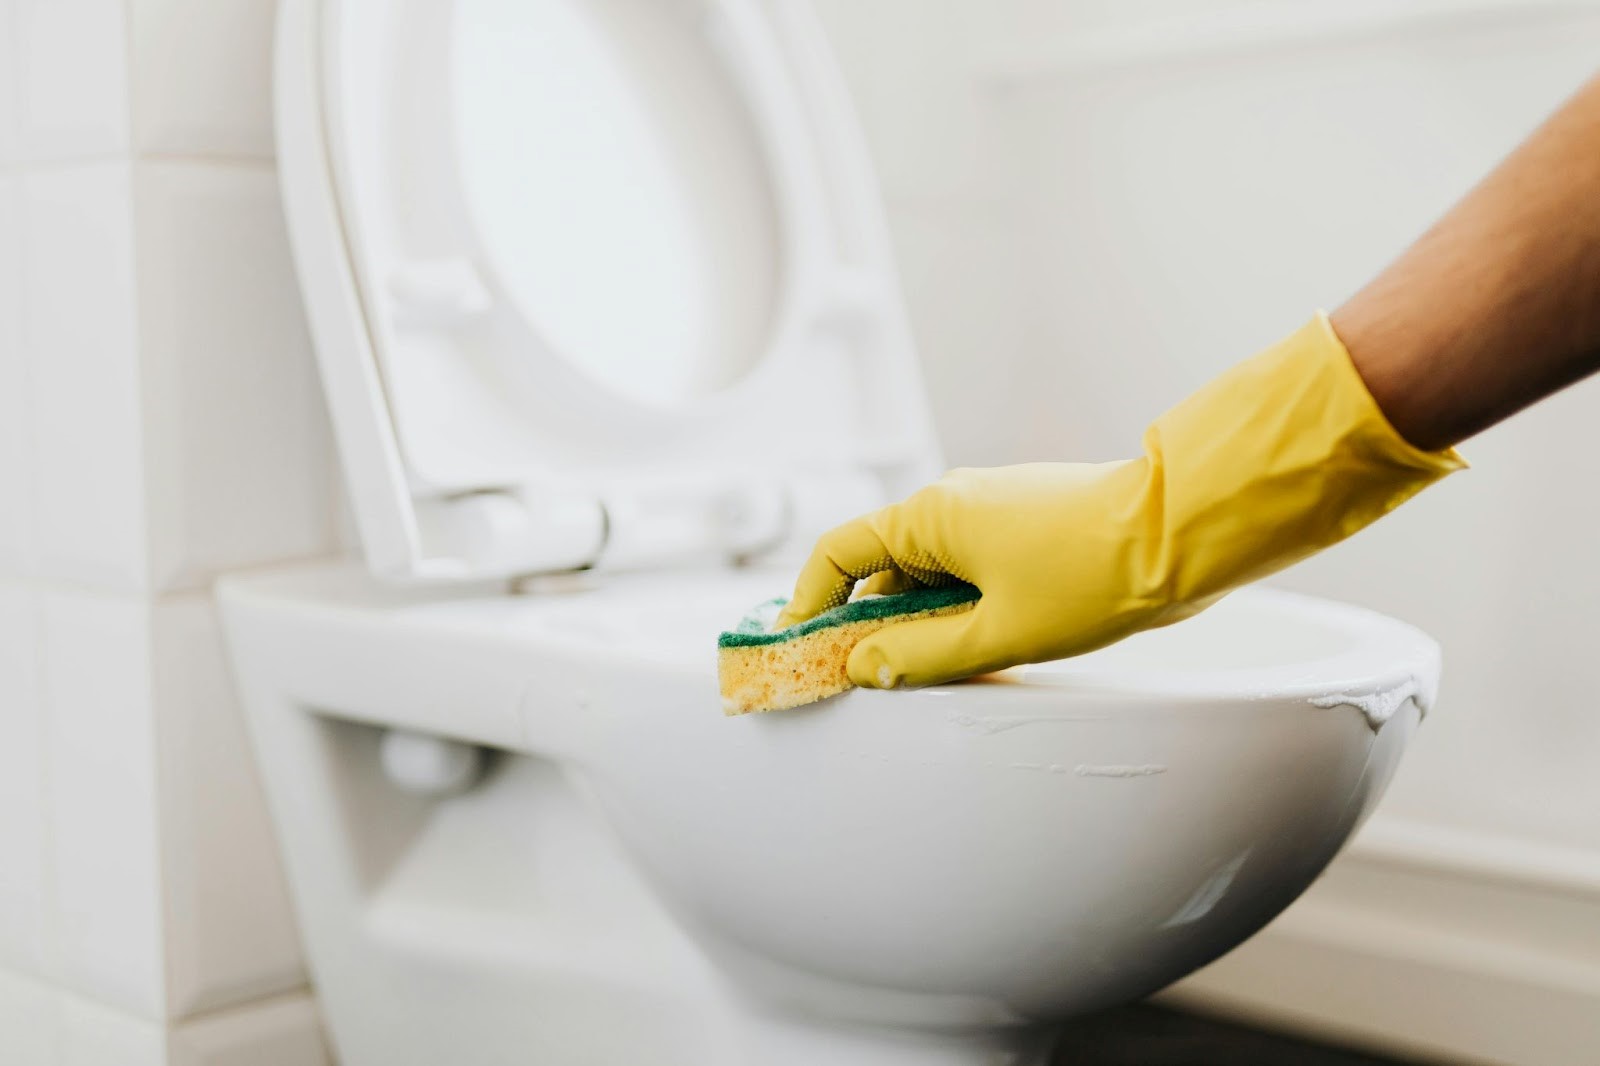
Once the final inspection is complete, the last step is a thorough cleaning to ensure your new bathroom is pristine. While the contractors will do most of the cleaning, there will inevitably be some more to do before your bathroom is sparkling clean and ready to go!
- Start by clearing out any construction materials and sweeping or vacuuming to remove dust and debris.
- Wipe down all surfaces, including tiles, fixtures, cabinets, and countertops, with appropriate cleaners to remove installation marks.
- Clean and polish all fixtures such as taps, showerheads, and handles.
- Mop the floor, focusing on grout lines and areas around fixtures.
- Make sure all surfaces are dry and safe to use, ensuring a slip-free environment.
And there you have it! 10 steps to an epicly renovated bathroom. Be sure to contact us today if you need a bathroom renovation plumber on the Gold Coast!